In my previous post, we examined the case I selected for my workstation build. While some budget cases come with power supplies, most of the higher end cases do not. This is mainly due to the potential demands that can be placed on a power supply can differ greatly from application to application.
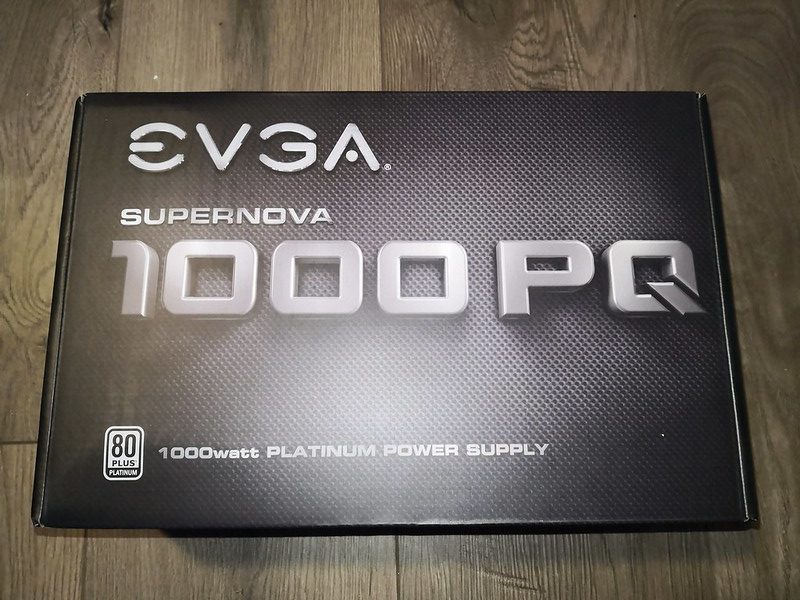
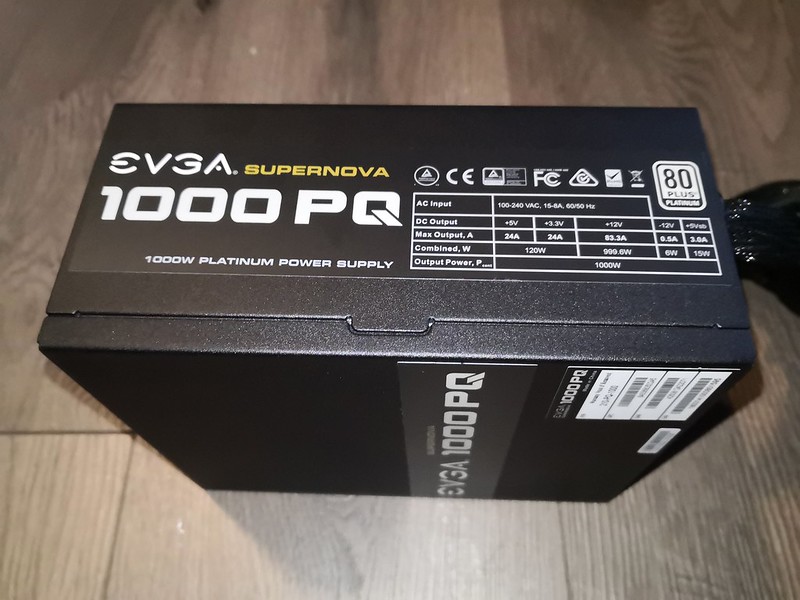
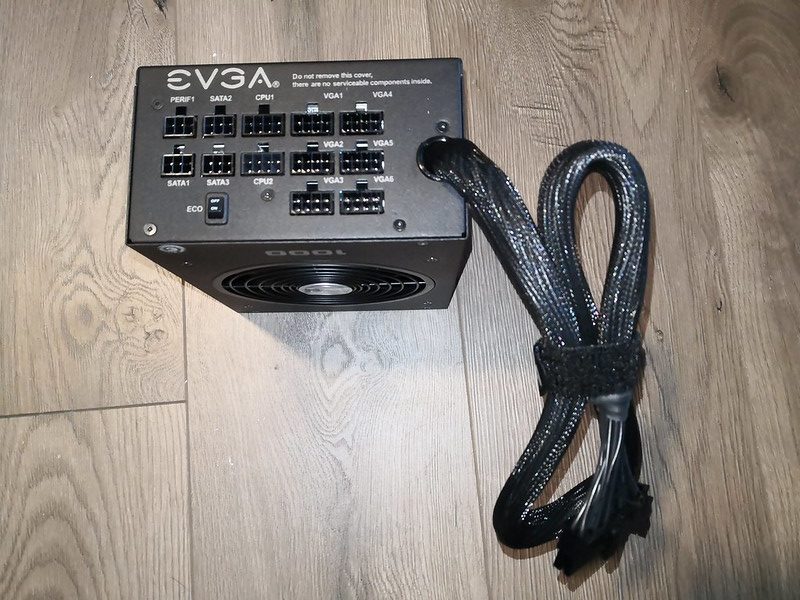
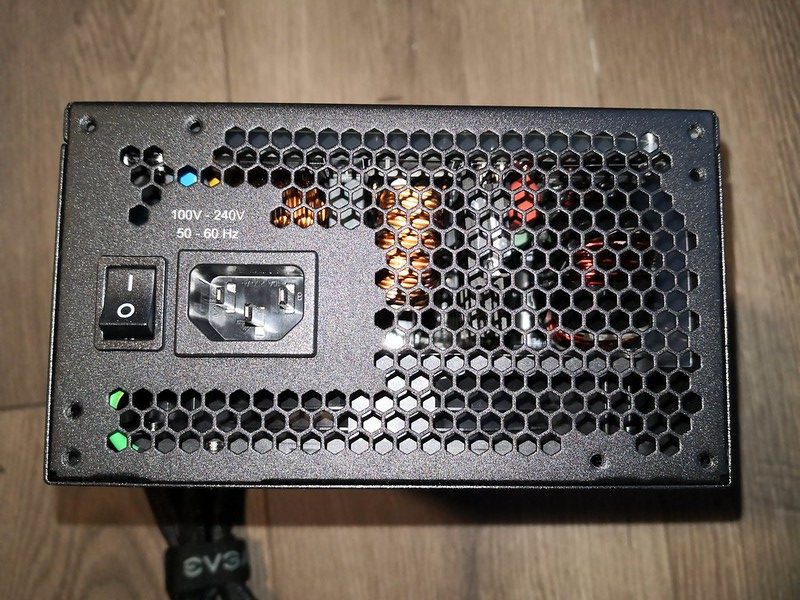
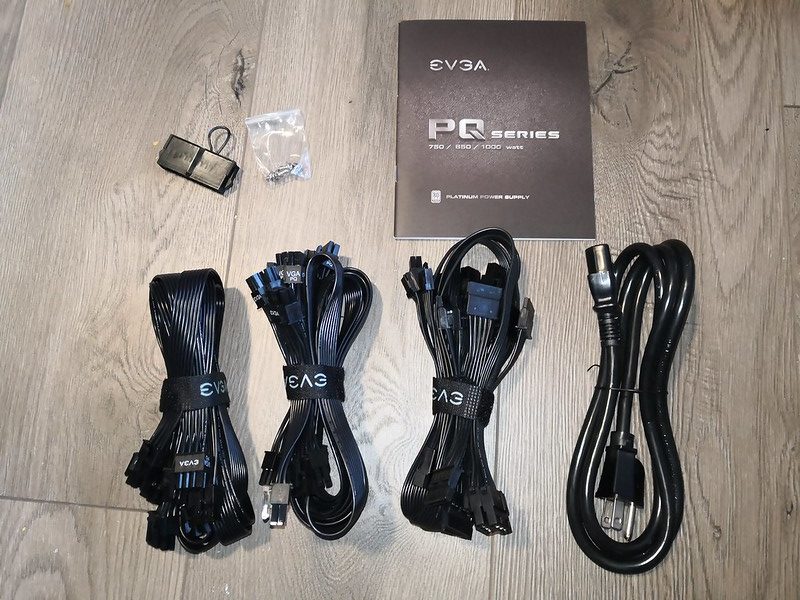
Because I plan to run multiple beefy video cards, I selected a 1000 watt power supply to ensure no matter which setup I chose, it will get enough juice. To be honest, for my application, an 850 watt probably would have been more than enough. A 1000 watt will be able to handle anything I throw at it and then some. I have a GPU mining system with a 1000 watt power supply that is powering 8 video cards.While power supplies are offered in different wattages, they also have different ratings. For my workstation, I chose an 80 Plus Platinum power supply. The best grade of power supply you can get is titanium, with platinum being a close second. Other grades range from bronze to gold. The certification indicates the quality of components used. Higher quality components generate less heat, and therefore waste less electricity. Less heat means there is also less demand placed on cooling fans, so they can be slower and quieter. For most applications a silver or gold would be more than adequate.This particular power supply is considered semi-modular. A fully modular power supply would have no pre-attached cables. Semi-modular power supplies typically have the motherboard power pre-attached. A fully modular power supply would allow you to change the cable length or color (for you foofy gamers out there), and let you replace a faulty power supply without having to re-route cables. Semi-modular is good enough for me, since it allows me to only use the power cables that I absolutely need.
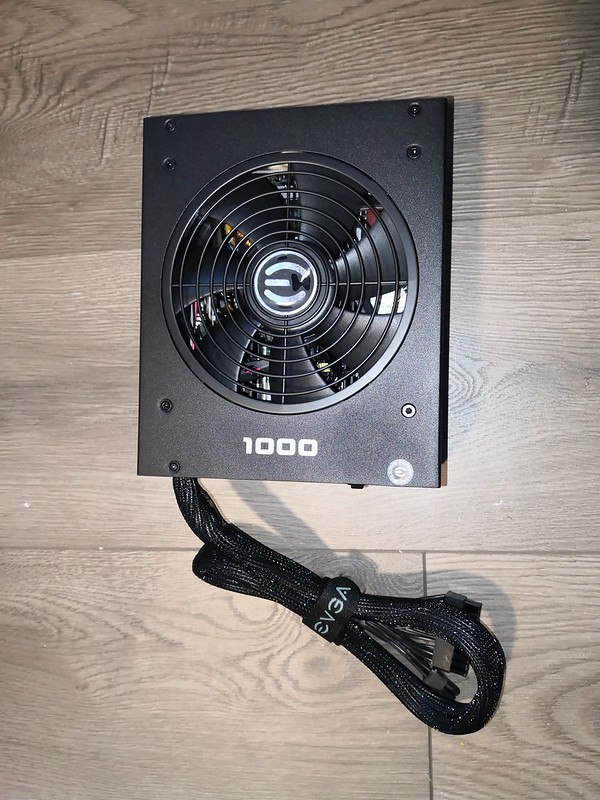
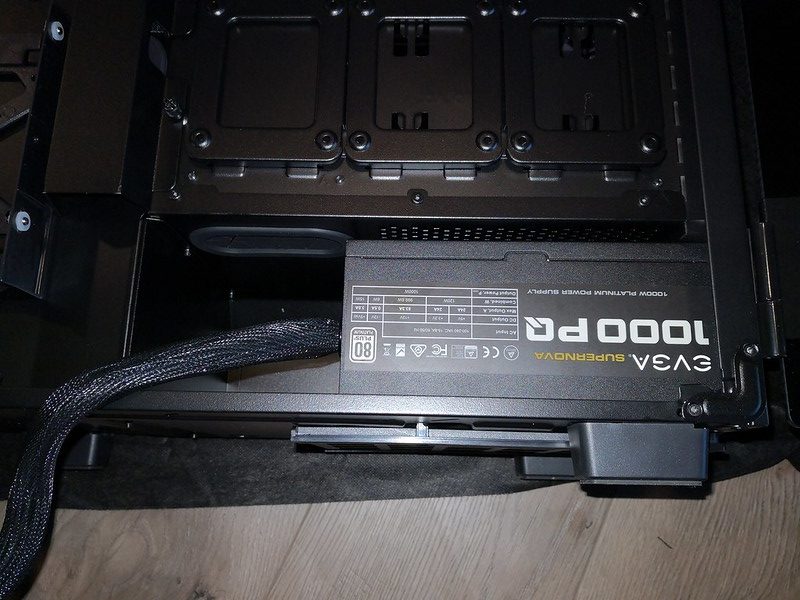
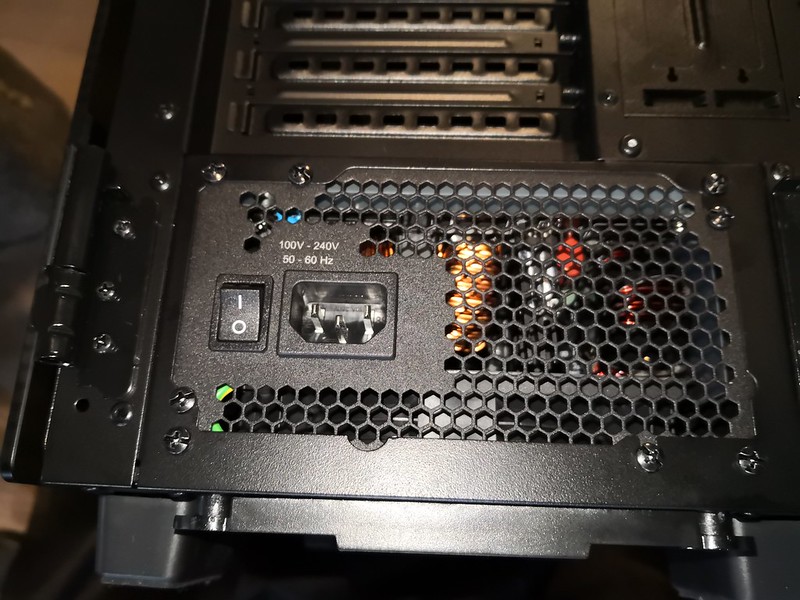
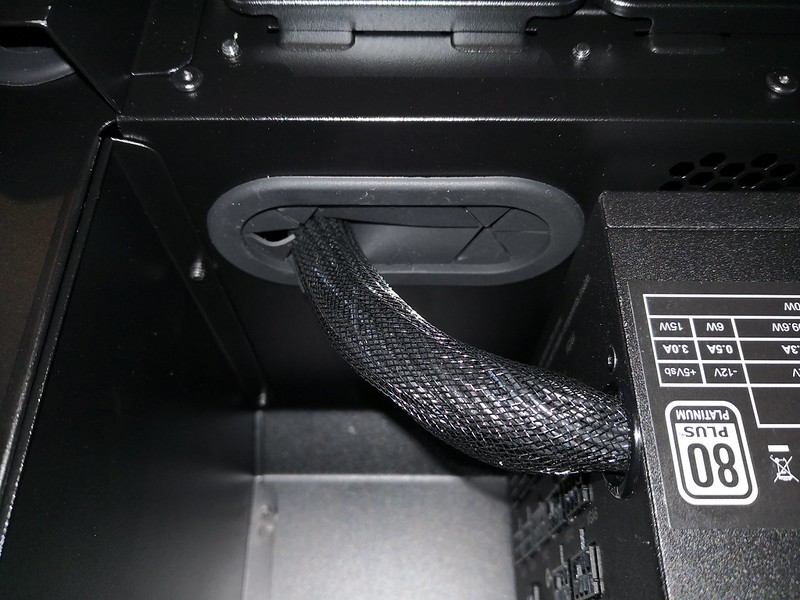
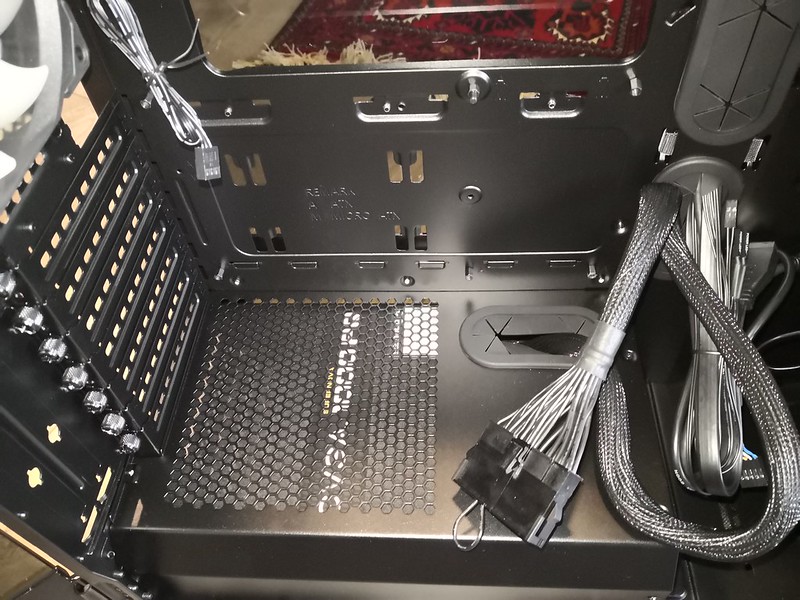
You’ll also see a small switch to enable ECO mode, which will cause the fan to idle if the temperature is below a certain threshold. I’ve never been a fan of this feature on power supplies, and you will frequently see people complaining about it in the ratings.When it does get hot, this power supply has a large fan that is capable of moving a lot of air.From this angle you can see the internal components, as well as the power input and power switch. If you want to cold boot a computer without unplugging it from the wall, a power switch is essential. And no, the power switch on your case does not remove all power from the motherboard, so be careful! You must remove all power to truly cold boot a system. Note: Make sure power supply power is off before changing components.Our particular case has a convenient compartment, which keeps it physically and thermally isolated from the rest of the workstation.The power supply came with some silver screws, but I chose to use the black ones that came with the case. The case also gave me and additional 4 places to secure the power supply, so I went ahead and used them (I have a touch of OCD).Once physically installed, the motherboard power cable is easily routed into the mother board compartment through these rubber grommets.You can see the power supply installed from the motherboard compartment. I have also installed the included test plug onto the motherboard cable. In the absence of these, adventurous people have also been known to use paperclips on the appropriate leads. I took the opportunity to power it up, and everything seemed to work fine. With no load on the power supply, it was practically silent.The accessories included with the power supply. The odds are I will not have to use all of these power leads.
Thanks, for viewing. If you are interested, this particular power supply can be purchased via Amazon here: