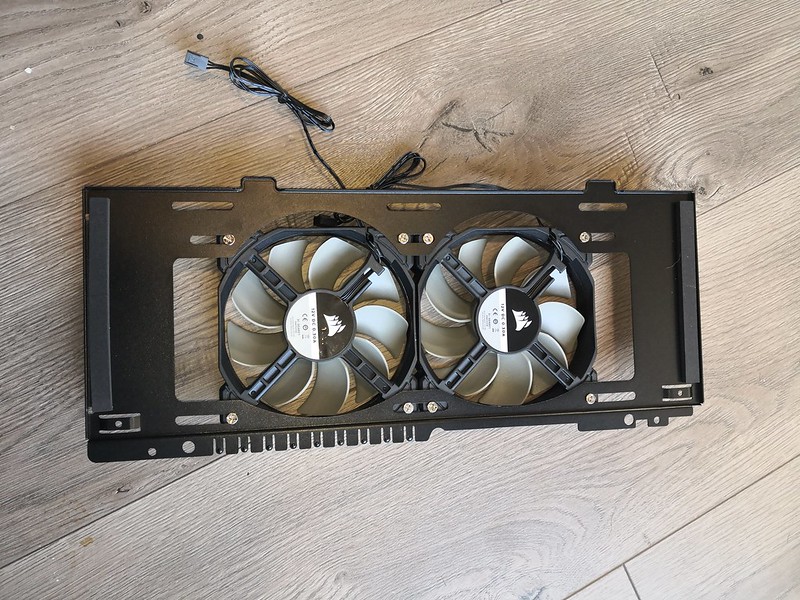
Back to the ancient art of building your own PC! Cooling is probably one of the most boring aspects of building any system, but it’s still an important part nevertheless. The case I purchased came with two fans, but I really don’t know their specs nor could I find them online. At this point I’m just going to hold those fans in reserve, and install them at the top of the case.
If you are interested in my choices for case and power supply for this build, please refer to my previous blogs.
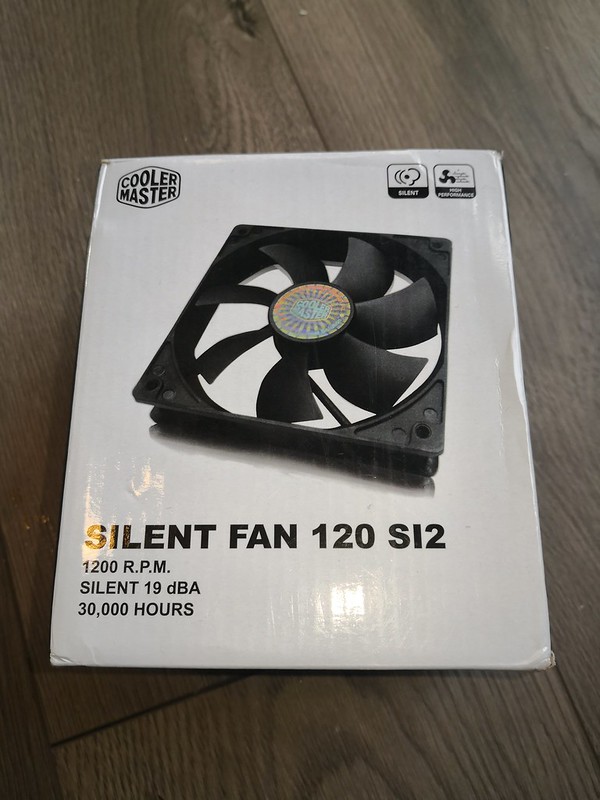
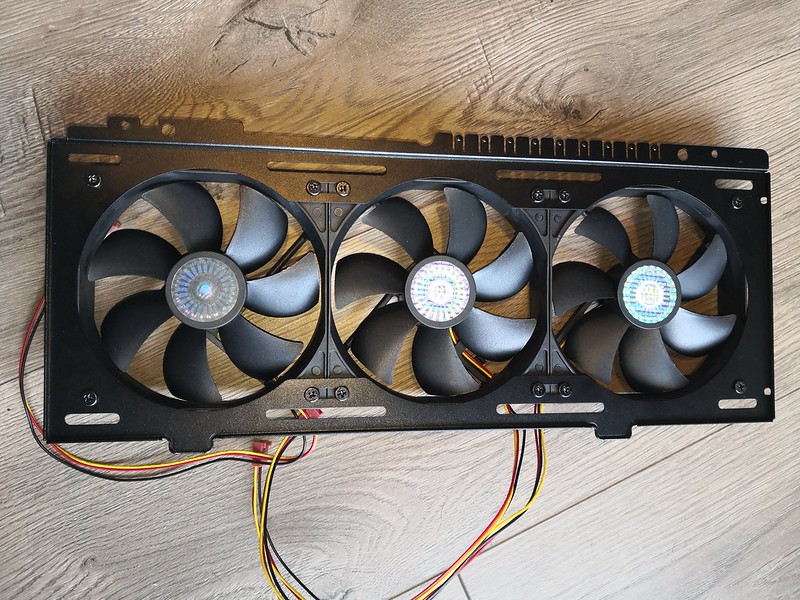
I decided to buy a 4-pack of these Cooler Master fans, which have decent reviews and run at a quiet 19 dBA. According to Industrial Noise Control , 19 dBA is quieter than a whisper or broken leaves. These fans can move about 45 CFM (cubic feet of air per minute). It’s important to note that these fans are not PWM fans, meaning they will run at a constant rate, so the sound will be consistent, which is something I value in a working environment.
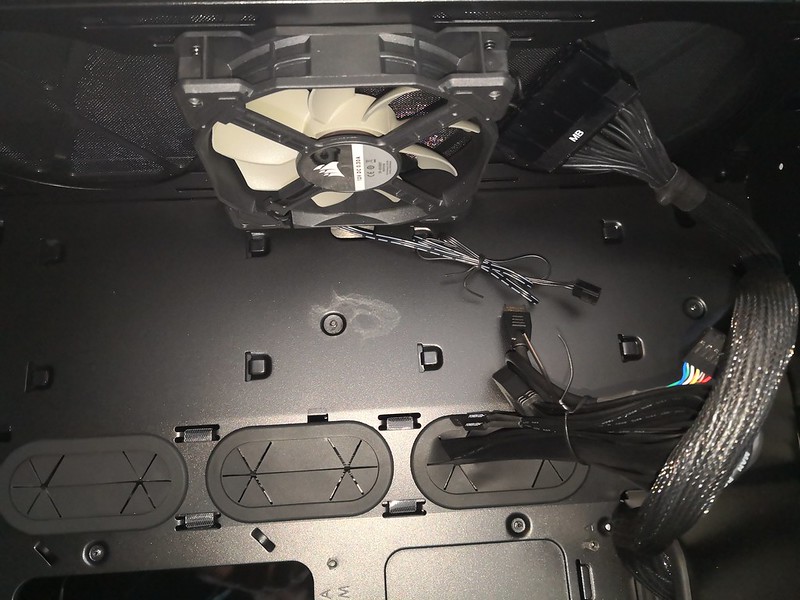
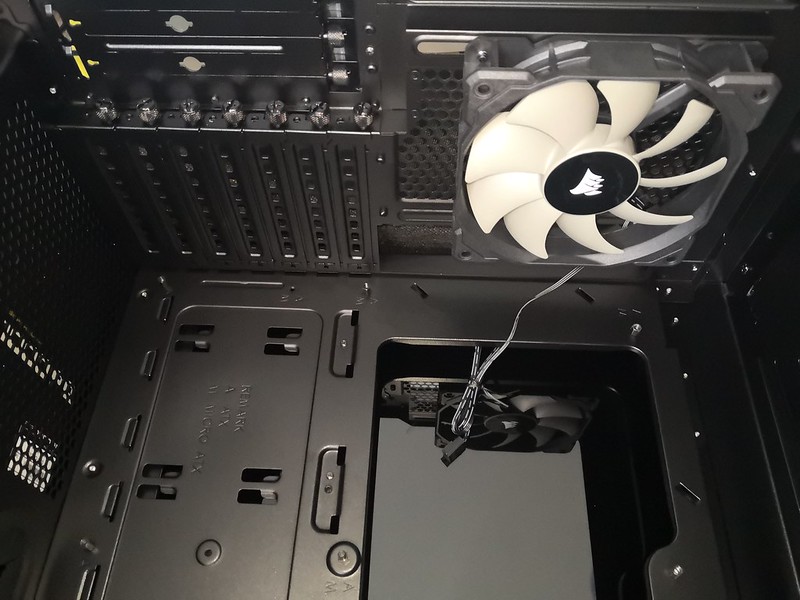
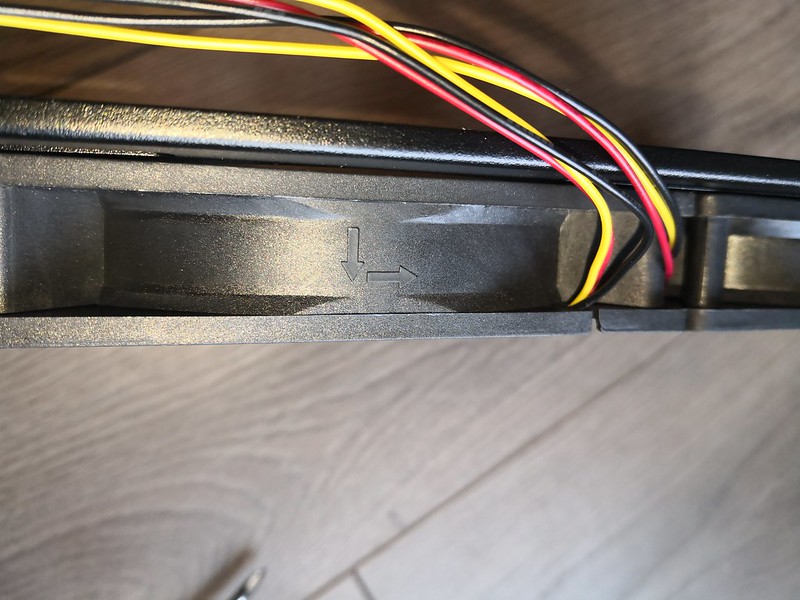
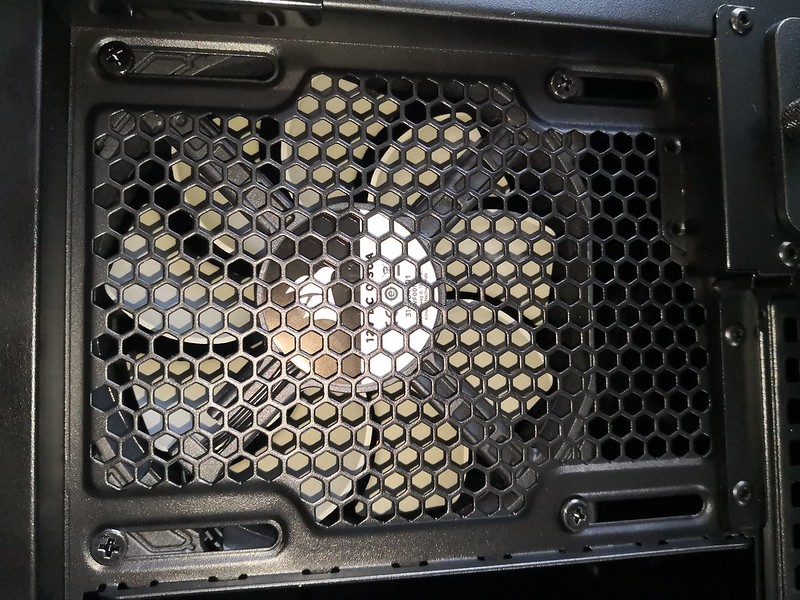
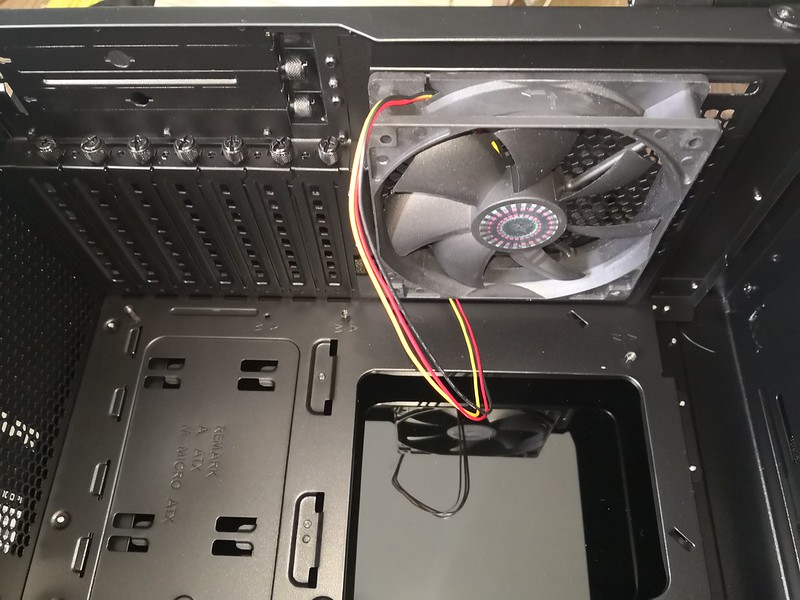
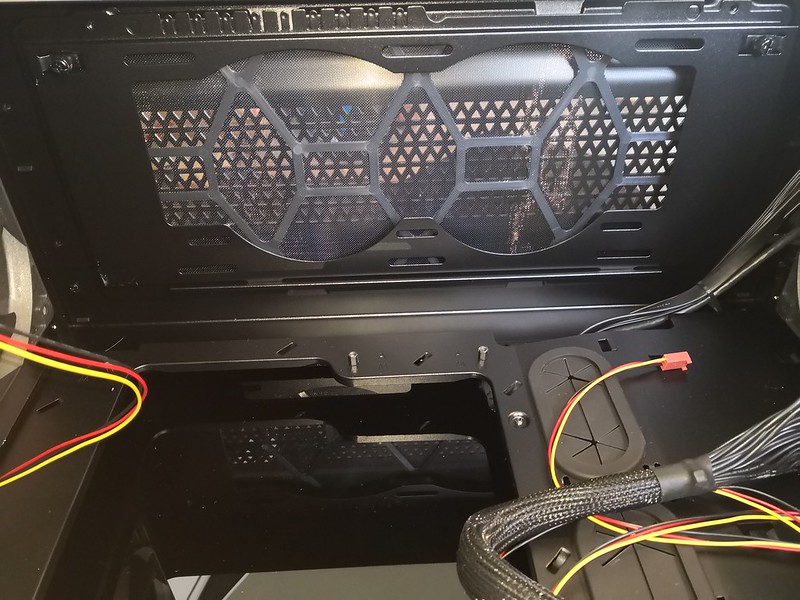
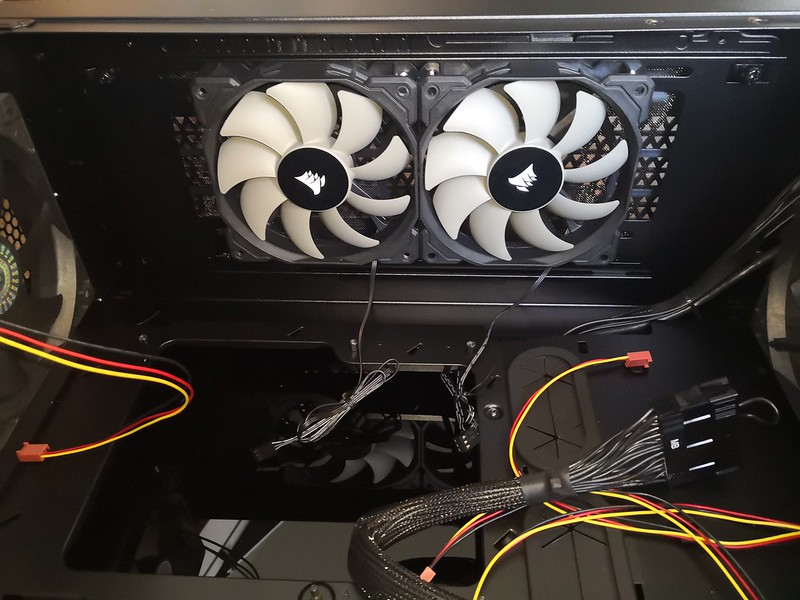
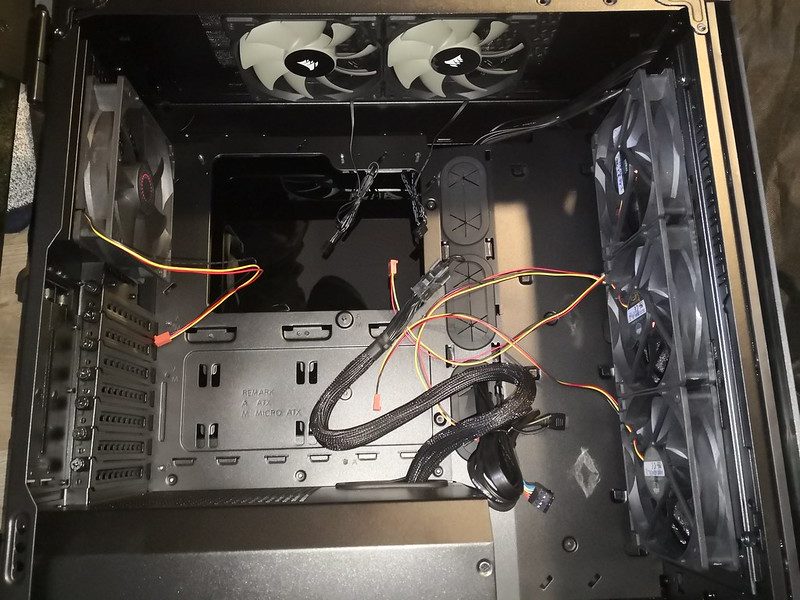
In contrast, my GPU miners use PWM fans which will adjust the fan speed based upon the chassis temperature. This is important when running 8 GPUs in varying seasons in front of 10k RPM exhaust fans. A 10k RPM fan running at full speed sounds like a jet engine. That same fan running at 4k RPM isn’t so bad.The original intake fan is pictured here mounted in a removable fan tray. You will notice an additional fan location on either side of it. I will be replacing this single fan with 3 silent ones, which is why running the more expensive PWM fans is less appealing.The rear exhaust fan is mounted directly above the expansion slots. I will also be replacing this fan with a silent one.This is the fan tray with the OEM fan installed. You can now clearly see there are two additional locations to mount fans.It is important that you note the directionality of airflow when installing fans. Most fans include directional arrows to make installation foolproof. Air should be flowing through the chassis. The last thing you want are all fans to suck in air, or all fans to blow out air. This can cause suboptimal cooling as well as cause the fan to draw in dust from other places.Here we have all three of our new fans installed in the tray. These three intake fans coupled with the single exhaust fan, should maintain positive pressure within the case. Positive pressure prevents dust from getting sucked into the case through locations besides the fan ports. Since this particular case has dust filters, this should reduce the amount of dust.The rear fan does not have its own tray, it’s just simply installed with 4 screws.Here we have our new fan installed, and you can see the arrow indicating it is pointed in the exhaust direction.If you look at the top of the chassis, there are an additional mounting spot for two more fans. This is where I will install the two OEM fans as reserves.The top of the chassis also has a removable fan tray, where the OEM fans are now installed.These fans are not PWM fans either by the way, but I still should be able to turn them on or off via a motherboard utility. These fans will be off under normal circumstances. In the case of my single exhaust fan failing, or the case gets particularly hot because I am doing some serious hashing or rending, i can activate them. Higher end motherboards have temperature sensors, which allow you to make informed decisions about how well your PC is being cooled.Here’s one final shot of the chassis with all 6 fans installed. 6 fan slots. 6 fans. OCD satisfied.
Thanks for reading! Fans are not very exciting, but cooling is an important aspect of building a workstation, especially if you plan to run multiple higher end video cards. Cooling measures can get a lot more expensive and elaborate, but this set up should be more than sufficient for my particular needs. Next up, we’ll mount the motherboard.