So I’ve decided now that I’m back home for the foreseeable future, it’s time to sink nerd roots. Besides at work, I’ve been using a laptop exclusively for the past few years due to living overseas.
With the advent of tablets, high-powered laptops, and other fixed configuration devices, building PCs from scratch has fallen out of favor. PC components are mostly marketed to gamers these days, and have features like garish LED fans and liquid cooling. Even individual components like memory, video cards, and CPU fans can create some crazy light shows. I enjoy a powerful computer as much as the next person, but the disco lights just aren’t my thing.
Since building my own computer brings back a lot of nostalgia, I decided to go for it. Some people start with choosing the internals and then work their way out. I prefer to start with the case.
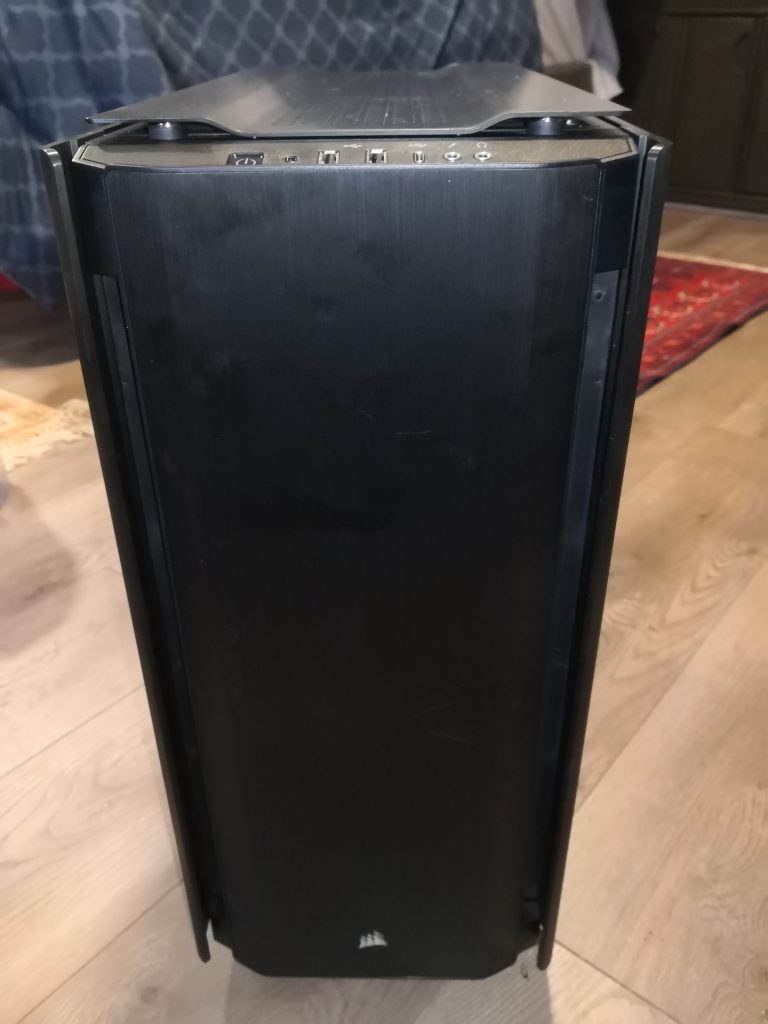
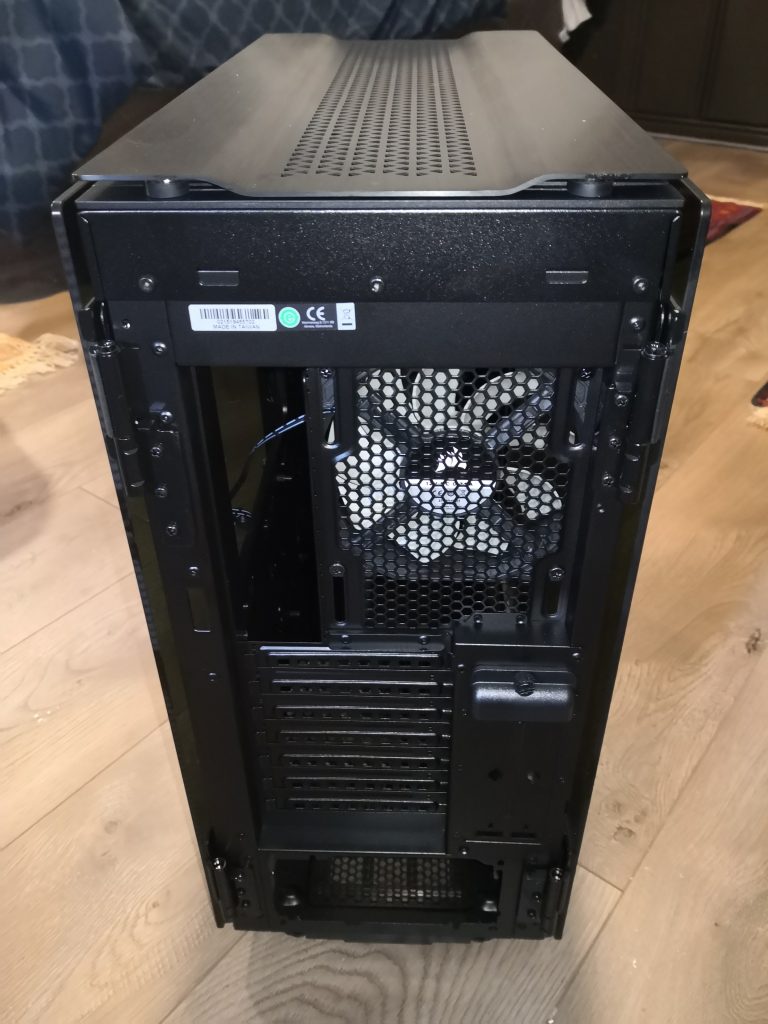
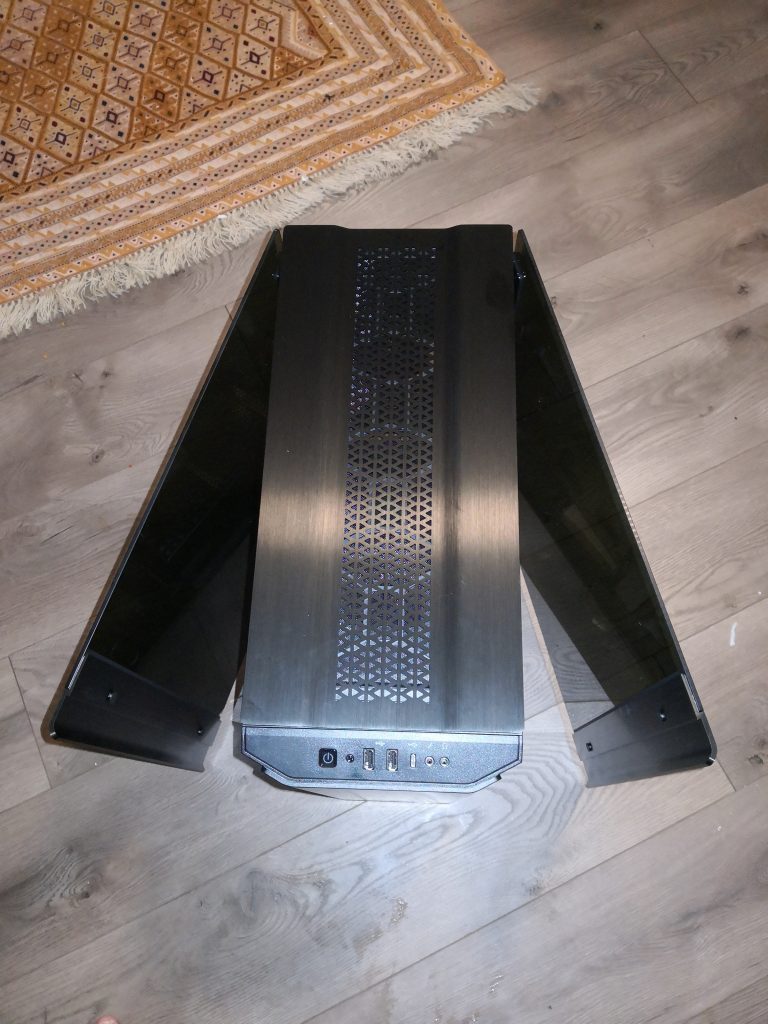
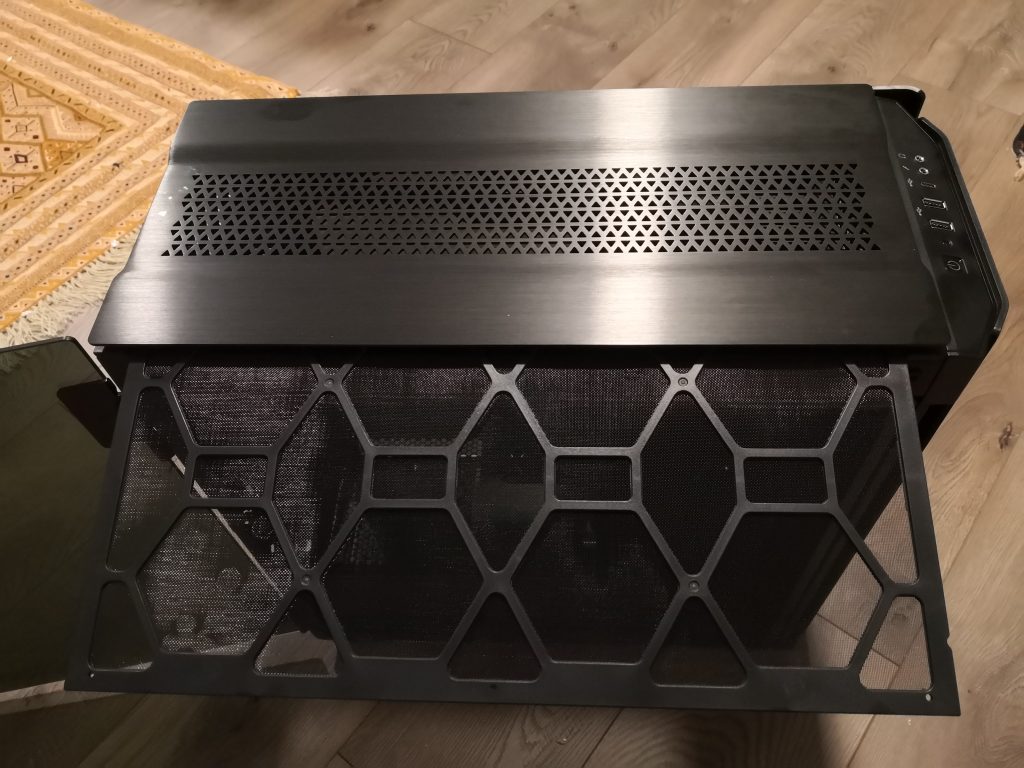
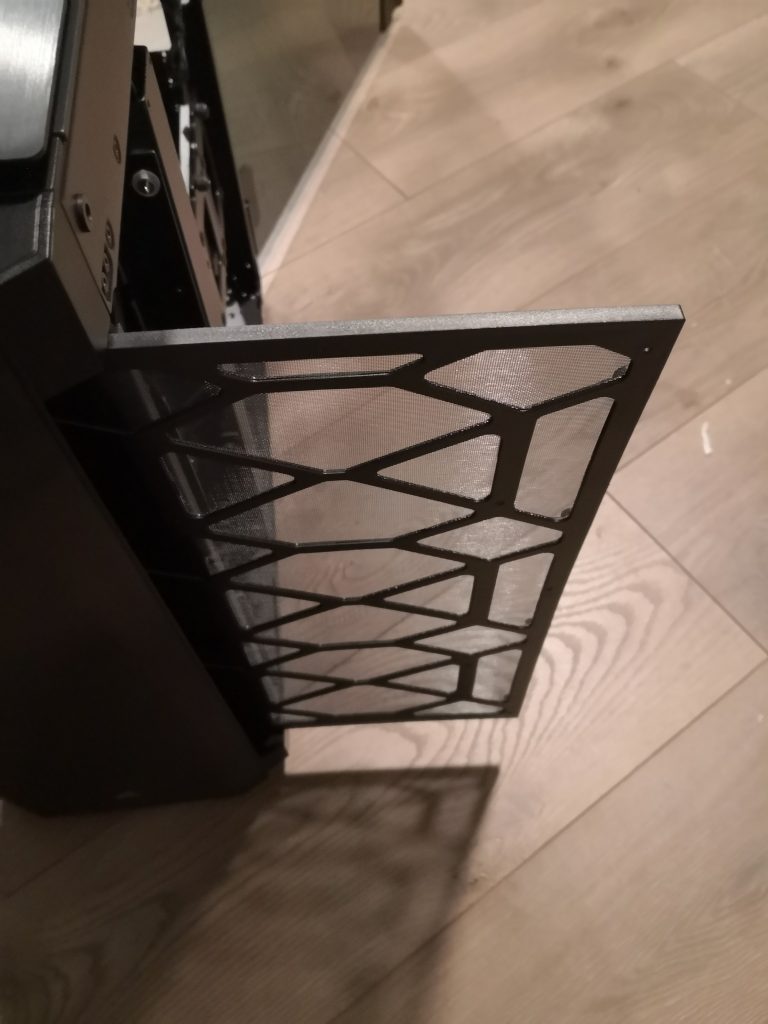
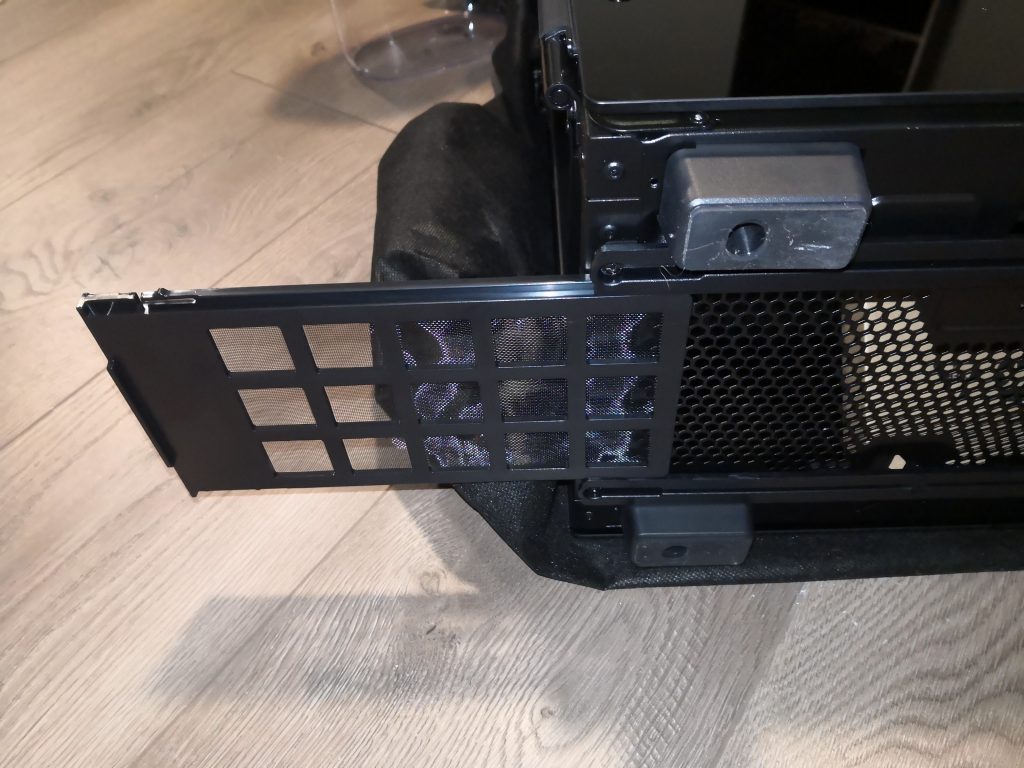
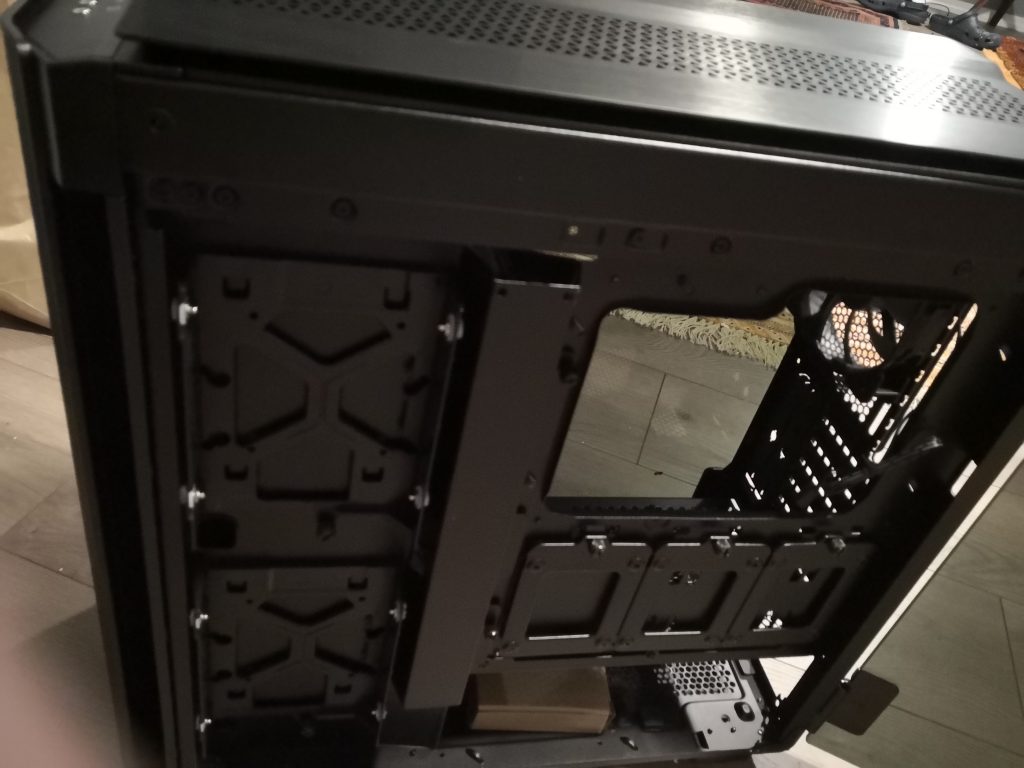
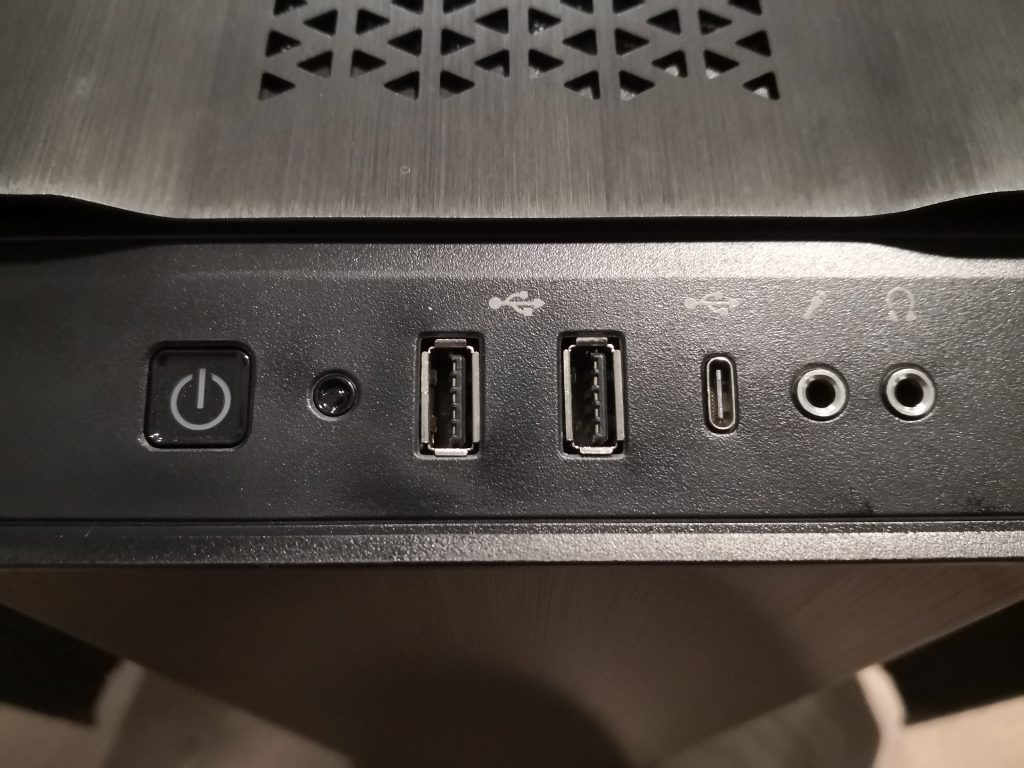
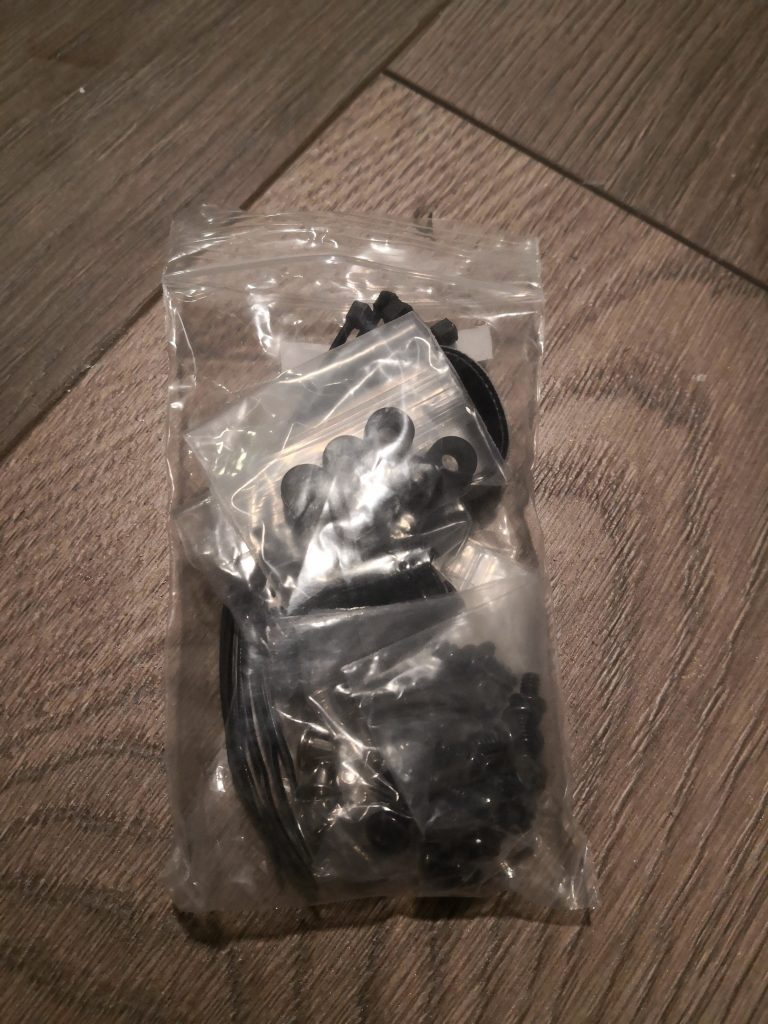
After hours of research and scrolling through cases that resembled technicolor vomit, I ordered the Corsair Obsidian 500D.For about $159, you get this monolithic masterpiece shipped free via Amazon Prime. It arrives in a huge box. At 20 inches tall, and just over 9 inches wide, it’s bigger than I thought it would be. It’s also built like a brushed aluminum tank!On the back side, you can see the included 120mm exhaust fan, and the ruggedly built hinges for the side doors.The side doors open suicide style, which is pretty cool. They are also screw-less, and held shut by powerful magnets. While I’ve never been a huge fan of glass on computer cases, these doors are heavily smoked tempered glass. Without any light source inside, you can barely see through them.The top side is well ventilated, and the dust filter is also held magnetically. Another dust filter ahead of the intake fans slides out easily from the front.The power supply has its own separate compartment with isolated airflow, and yet another easily removable dust filter. The case also sits on 4 stout rubber feet that keeps it well elevated above the floor or desk(good luck with this beast on your desk).The motherboard compartment is very spacious, with plenty of room for a full ATX motherboard. It even has a dedicated channel for running cables. I anticipate some OEM cables might be too short for this case, but we’ll find out. There also seems to be plenty of room for multiple long video cards.The opposite door provides access to the hard drive trays, with 2 3.5 inch trays and 3 2.5 inch trays.Unlike the cases of yore with multiple 5.25 inch and 3.5 inch bays , this case has nothing but this single panel with power/reset, USB, and audio ports.You are also provided a baggy full of useful hardware, including zip ties and velcro straps.
Overall, despite the gargantuan size, I love this case and can’t wait to continue this build. It can be easily purchased on Amazon here: