Welcome back to my series about the ancient art of building a PC. In this epic post, we will install some speedy little SSD drives. In case you missed my previous posts on the subject (1-7), please do check them out.
Back to the fun stuff, new hardware! Your device may have multiple locations to store files, but the device’s operating system is stored on a specific storage device. In the case of computers, the system BIOS will let it know which location to try to boot from first, be it CD/DVD, USB, SATA hard drives, etc. The major price driver for storage is the speed at which data can be accessed and written.
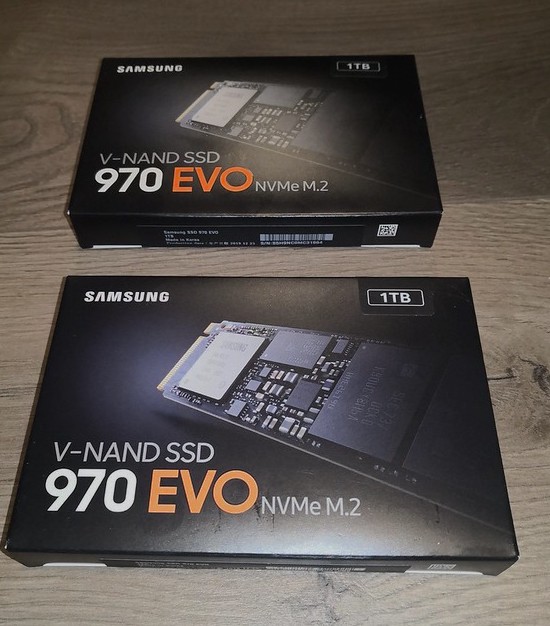
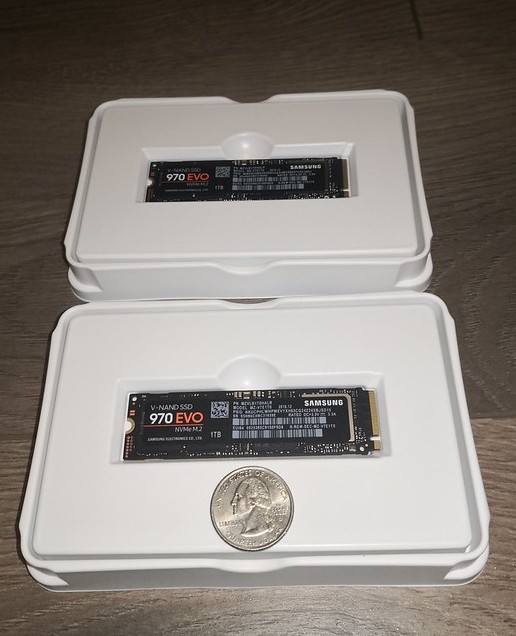
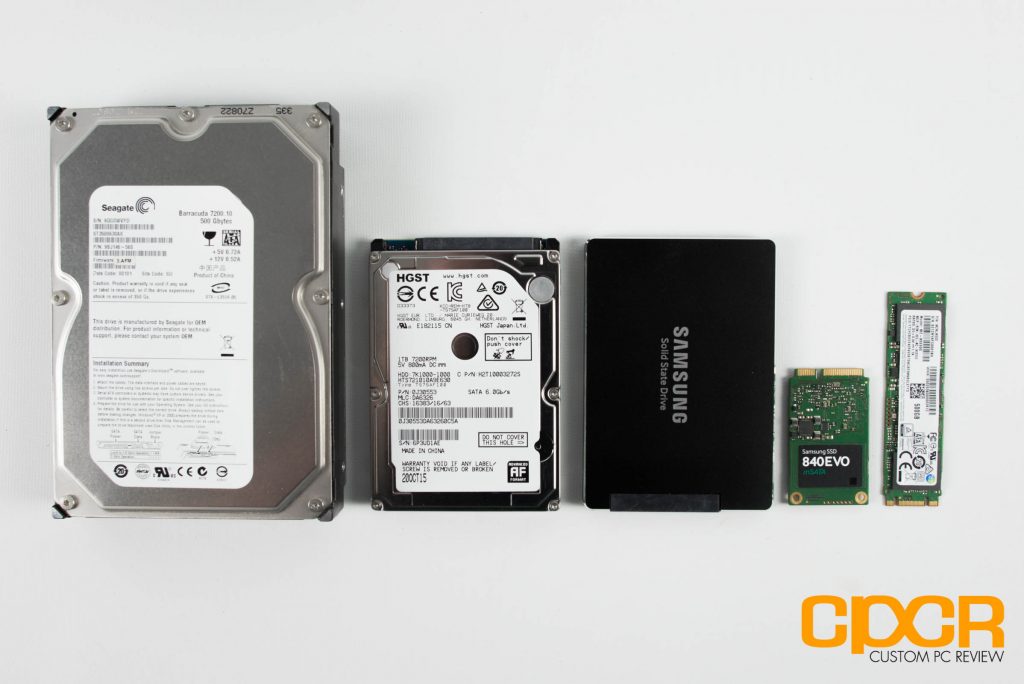
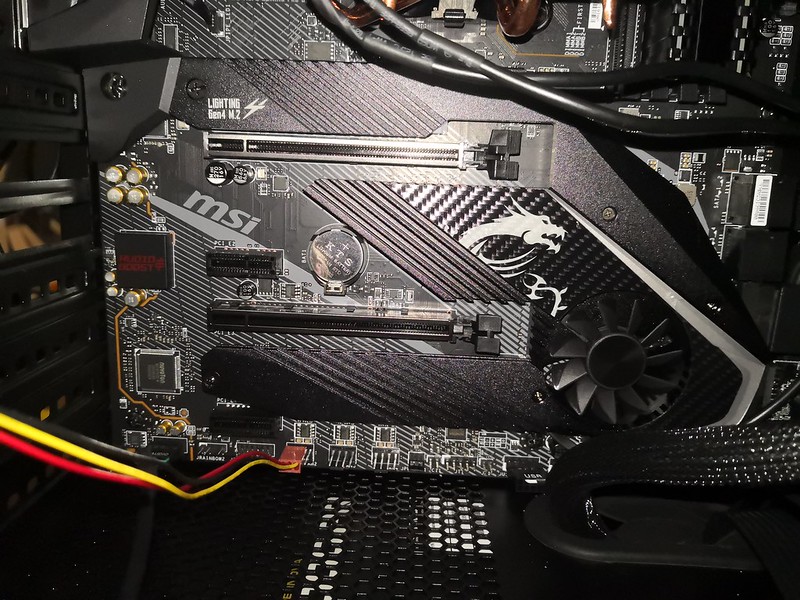
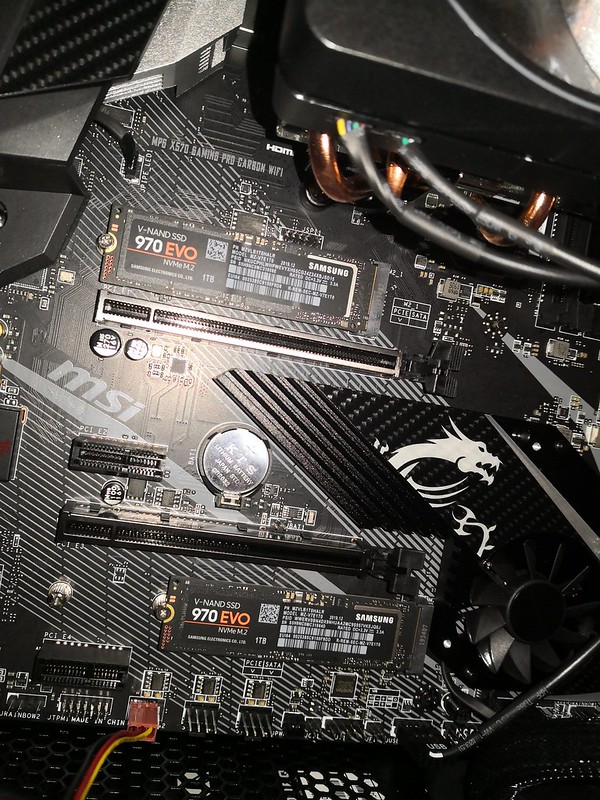
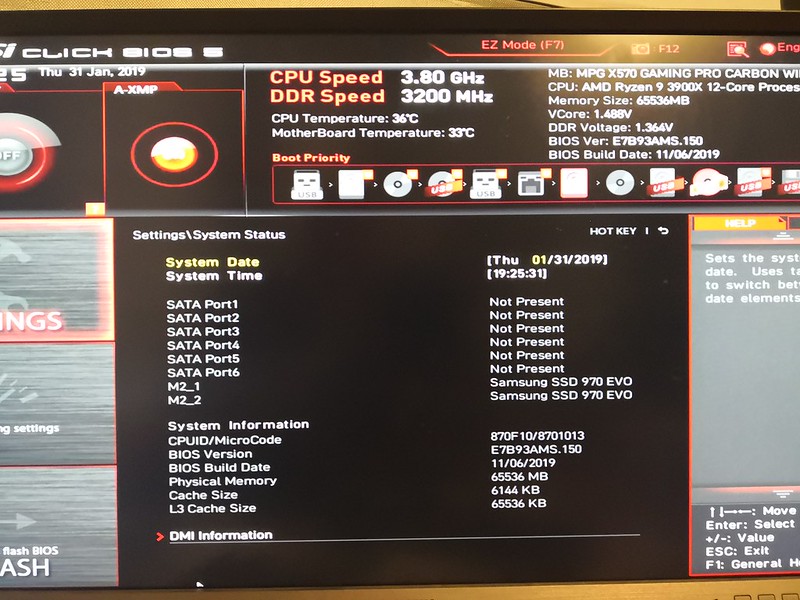
For my build, I chose to run dual NVMe M.2 drives. The model I chose is the 1TB Samsung 970 EVO. They were about $170 each, which based on past experience is pretty cheap for a high performance drive. They are capable of 3.5 GB/s read, and 2.5 GB/s write. They also had the 2TB model, which at $630 was way out of my price range. 2TB of storage on a high end workstation isn’t setting the world on fire in terms of capacity, but performance-wise these SSD drives can’t be beat. For my actual high capacity storage needs, I’ll be choosing a lower priced per TB solution.Did I mention these were small? I read they were about the size of a stick of gum, but until you see them in person sitting next to a quarter, it’s difficult to appreciate how small they actually are.Image Source You can see here drive sizes for the past 25 years or so, starting from a 3.5 inch SATA drive on the left, to an M.2 drive on the right. Prior to this we had 5 inch drives, 8 inch drives, and platter drives about the size of a washing machine that held just a few megabytes.One great thing about this motherboard is that it has a cooling system dedicated to the M2 drives. It’s so cool it would be just silly to run this motherboard without them! I had to remove the bulky video card in order to begin the install. You can’t see where the drives will be installed, because they are concealed behind some metal plates which help direct air flow in order to cool the drives. Cooler SSD drives are better performing SSD drives, and they last longer too. I may have taken this photo after the drives were already installed, but you’ll never know!.On the back of each metal plate, we can see some heat conductive foam pre-installed. These plates were easy to remove, but difficult to line up for the re-install.Here we have the covers removed and each SSD installed. The lower one was retained with some M.2 screws included with the motherboard. The upper drive used the metal plate’s screw, so it was a bit trickier to install. For the completed install view, scroll up two photos.Next up we have what I commonly refer to as, the smoke test. The BIOS recognizes both drives correctly. So now that I have two drives installed, I have a decision to make:
How can I use two drives to boot a single operating system?
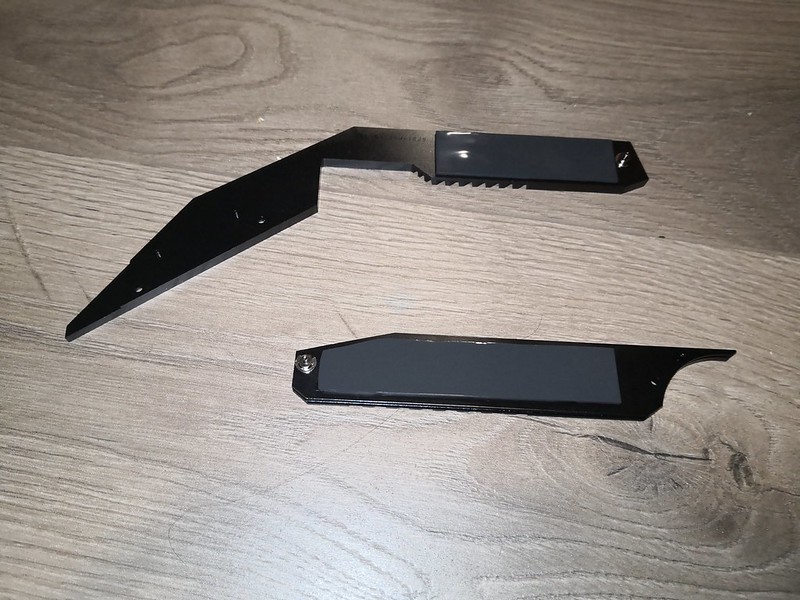
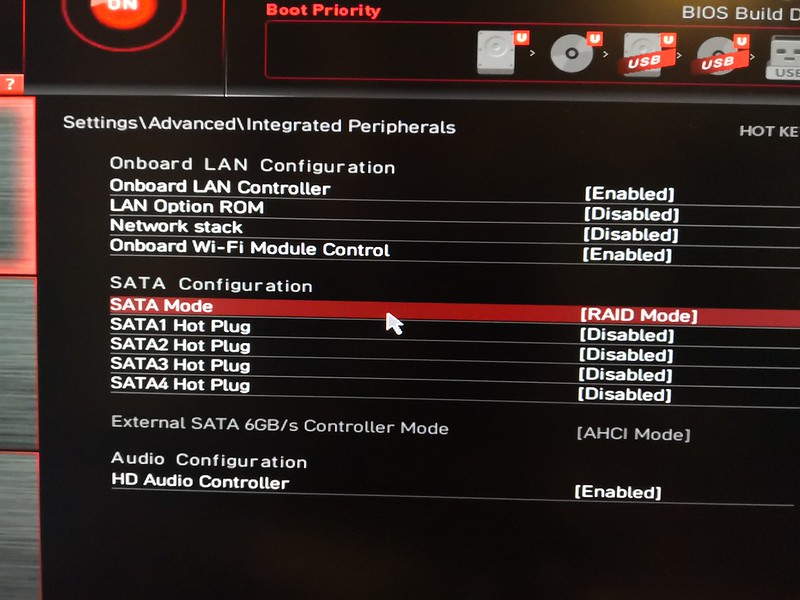
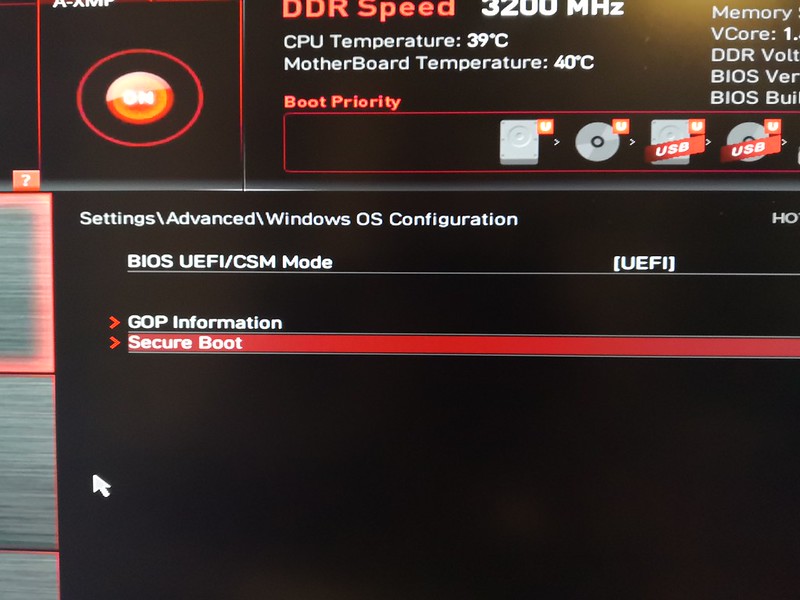
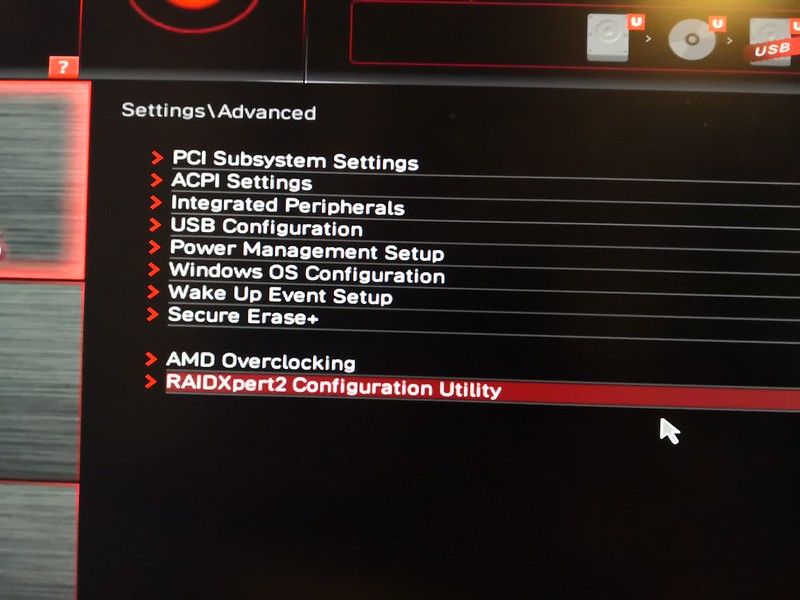
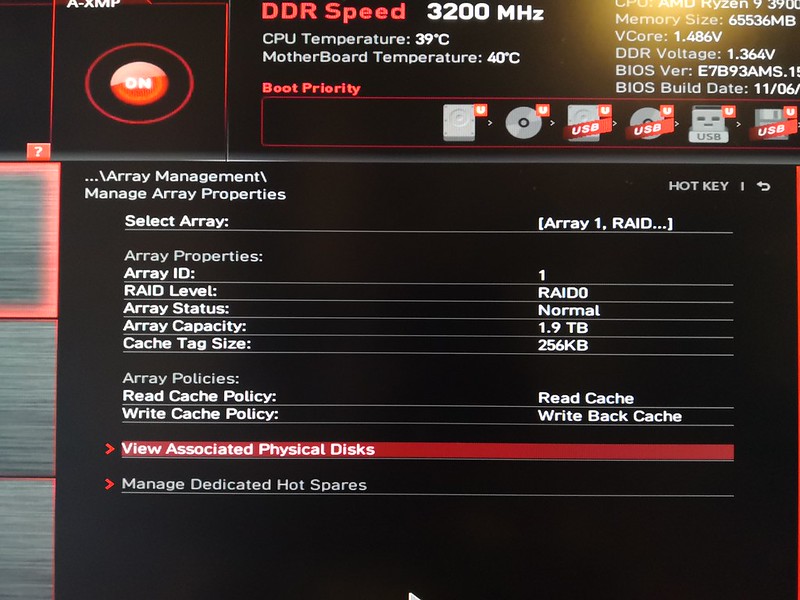
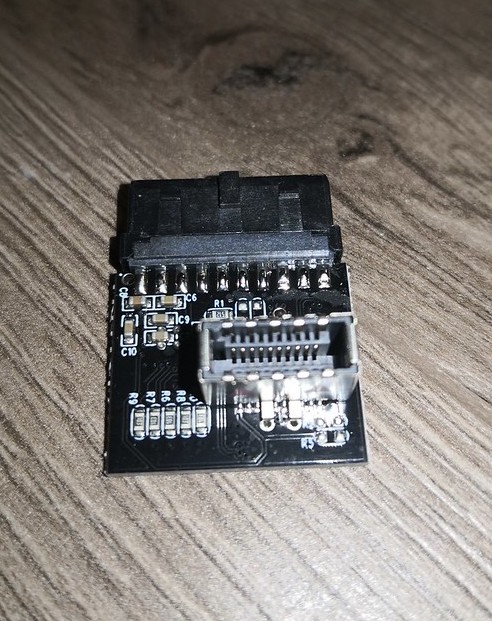
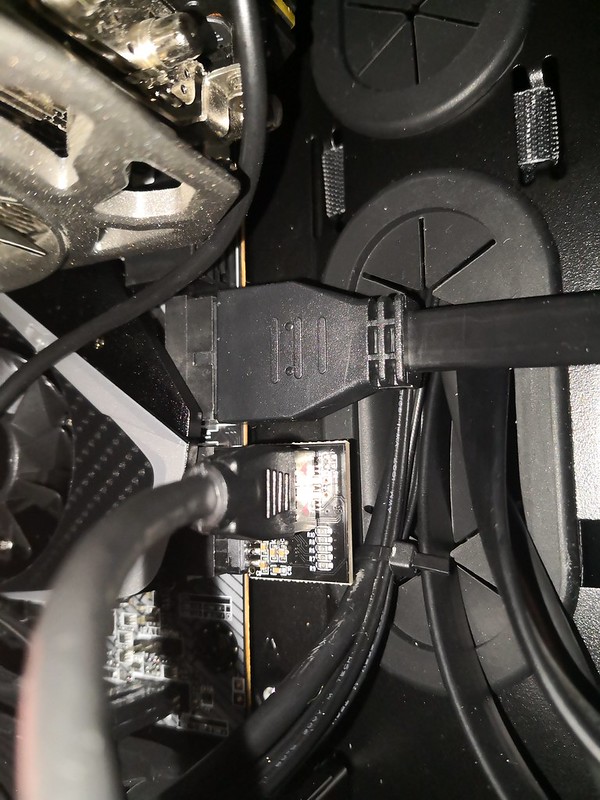
Well, I’m glad you asked my friends! The answer is RAID! RAID stands for Redundant Array of Inexpensive Disks. With two drives you have two choices, you can either go for redundancy with RAID 1, or you can go for performance with RAID 0. RAID 1 is also called disk mirroring, which creates an identical copy of your drive so that your data is preserved in case one disk fails. But we want performance, so we’ll choose RAID 0, which is also referred to as disk striping. More on that later.In order to use RAID on this particular motherboard, you will have to enable it in BIOS. This means that from here on out, any drives you add to the system will be expected to be a member of a RAID array. No problem for us!In order to enable RAID on the system, we will also need to enable UEFI mode on the motherboard. UEFI in short, allows the PC’s operating system to better communicate with the system firmware. It has some other benefits, such as allowing drive partitions larger than 2TB through the use of a GPT partition table. Some people are critical of UEFI for various reasons, but we need to run the onboard RAID. Once both features are enabled on the motherboard, we can reboot the system.After we boot the system up into BIOS, the previously hidden RAIDXpert2 utility is revealed, so we can now configure our RAID.I won’t go into exact detail regarding how to configure the array, but it consists of these three basic steps: 1. Initialize the drives you plan to use in the array 2. Create the array and add the drives to it 3. Initialize the array. So back to RAID 0. RAID 0 takes the ‘R’ out of RAID. This means there will be nothing Redundant about this Array of Inexpensive Disks. If one drive should fail, all data will be lost. The trade off here is high performance. RAID 0 offers multiple paths to read and write data simultaneously. The RAID 0 configuration here is pretty standard, one choice you will have to make however is in regard to the Write Back Cache. If you enable it, you can increase performance, but it comes at the cost of data loss and corruption should your PC lose power. Dedicated RAID cards have on board batteries to prevent this. We do not, so we will need to power this PC behind a UPS (battery backup).As an added bonus for this post (yes, I know you’re excited!), I ordered this little internal USB adapter. If you actually read part 4, you’d know I had an unusable USB Type C connector on my case. This solves the problem by allowing you to translate a USB 3.1 connector to USB Type C. The only downside is, you cannot use the full spec wattage for USB Type C, so I cannot charge devices like my iPad with it. I can live with that.Here is the adapter installed, with the Type C cable plugged in. Everything is plugged in, OCD satisfied!
Thanks for visiting! In the next post, we’ll install the operating system, and whatever else I can think of to lump into a post. Stay tuned!