Welcome back to my series about the ancient art of building a PC. In this edition, we will see if we can make the damned thing display video and perform some basic testing. In case you missed my previous posts on the subject (1-6), please do check them out.
After you finally get it to display video, it’s a good idea to test new a new PC, especially when it’s one you build yourself. You can test it actively using stress testing tools, and you can test is passively by letting the system burn in for a few days. A burn in just verifies there are no components that fail for simply being used for an extended period of time, while stress testing attempts to test the limits of a system in order to verify correct operation under extreme stress.
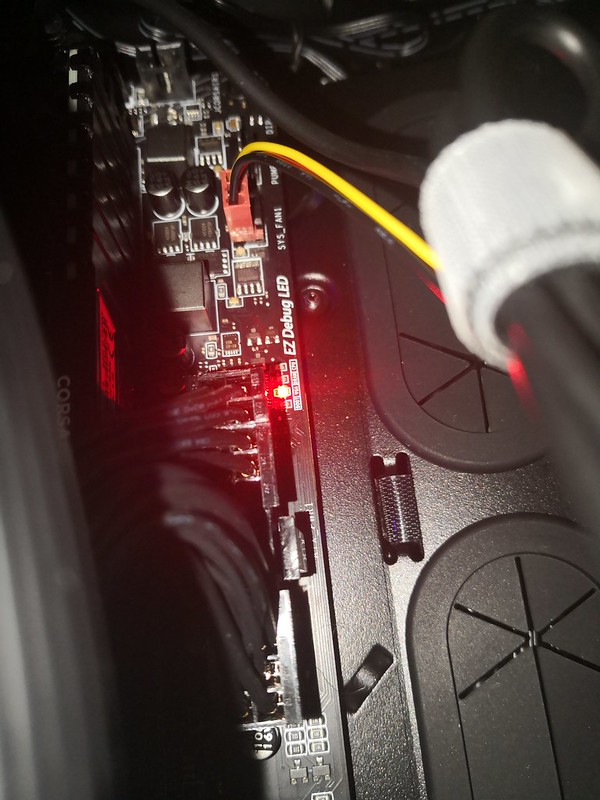
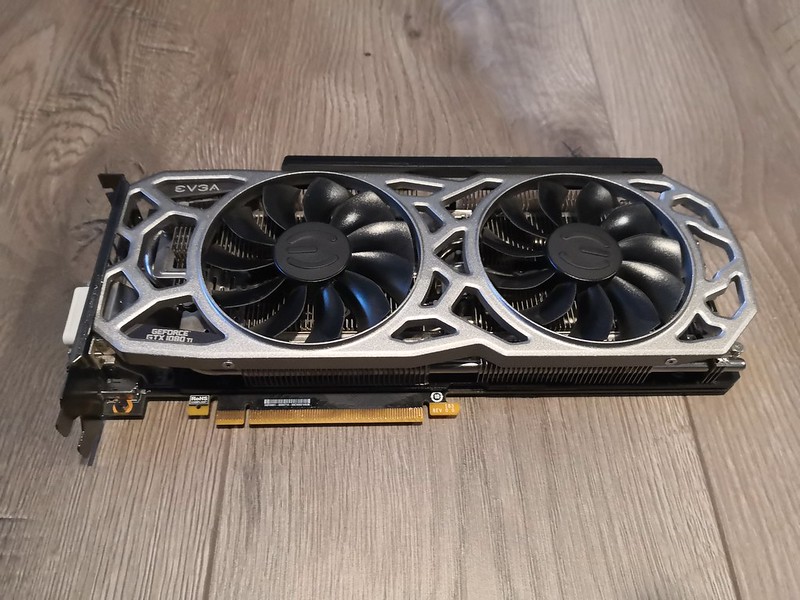
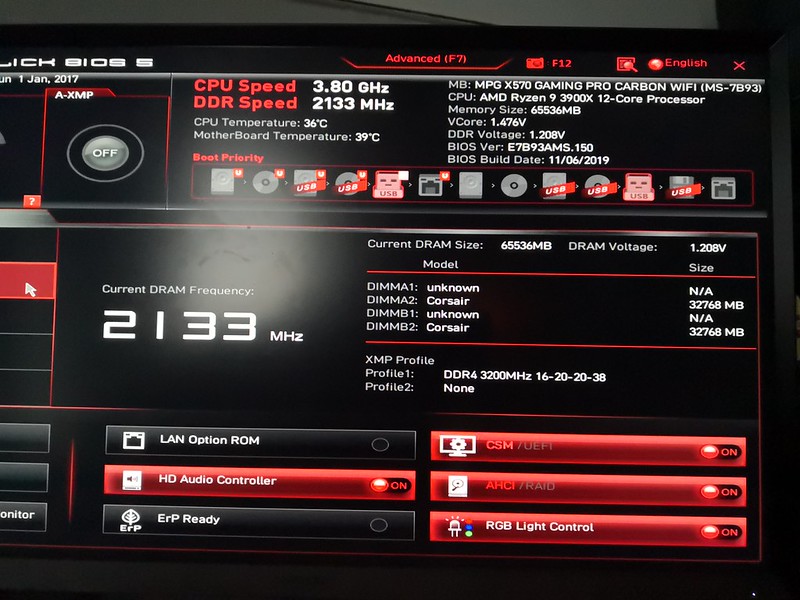
When last we left our new PC, we were successfully able to power it up, and got a colorful led light show, but something was wrong. No video was getting displayed through the onboard HDMI video connector. I had an older video card laying around I tried, but got the same result. My first instinct was the motherboard was bad. I double checked the specifications on the motherboard, and found that the CPU itself needed to support graphics in order to use the onboard HDMI port. That was one half of the puzzle solved. I still needed to get the video to work. Luckily I had 6 of these 1080 TI graphics cards in a GPU rig I could cannibalize. I decided to try again with this newer video card. I plugged the bad boy in and voila, video! For now I’ll use this video card, but I plan to grab a newer generation one before I declare this system cake to be fully baked!Look everyone, video! At this point I verified everything is being properly identified in the BIOS. If something is not being recognized correctly, it could mean you need to perform a firmware update. This particular shot was taken after I had already upgraded it. As you can see, the CPU was properly identified, and its specifications are properly listed.I also checked the tab for memory, which was also properly identified. It was, but obviously it was running about 1000MHz slower than spec. I wondered if this was some sort of idle speed, or if there was additional configuration I needed to perform. I have never used memory this fast before. After a bit of searching, I discovered I had to enable Extreme Memory Profiles (the A-XMP button visible here). I then had to go into the advanced BIOS settings and set my memory speed to 3200MHz.One thing you need to do right away is upgrade your BIOS to the latest release version. Do not proceed any further with your system build until you perform this step. The BIOS version pre-installed on your motherboard is seldom the latest version, and it might cause issues with the latest components such as CPU.
Note: You should avoid running beta BIOS versions unless you require some feature the beta BIOS unlocks. A beta BIOS has not been fully tested and certified by the manufacturer.
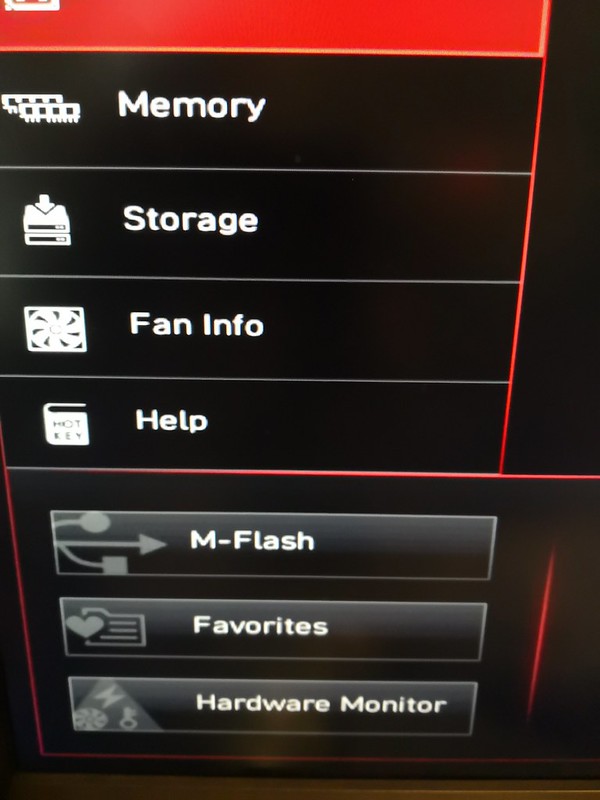
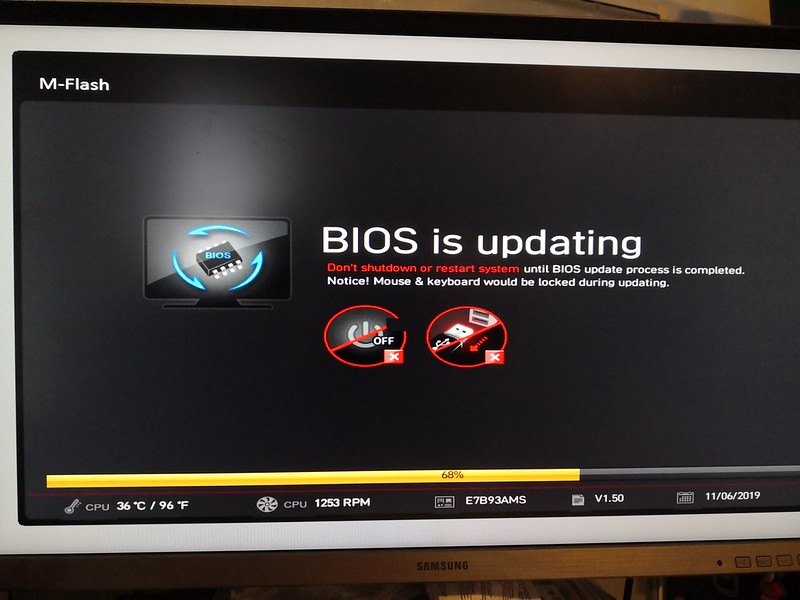
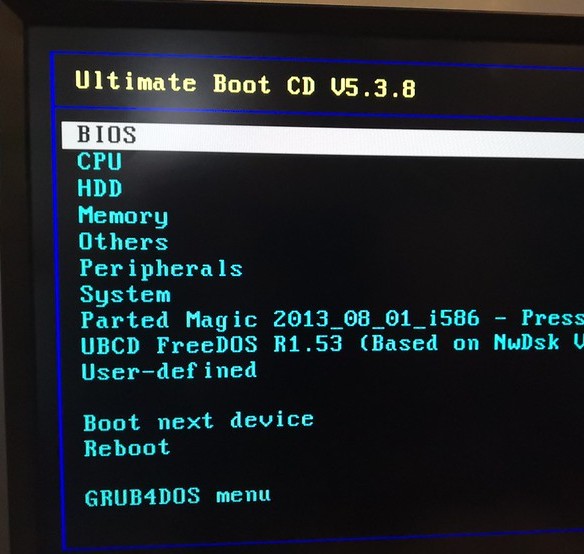
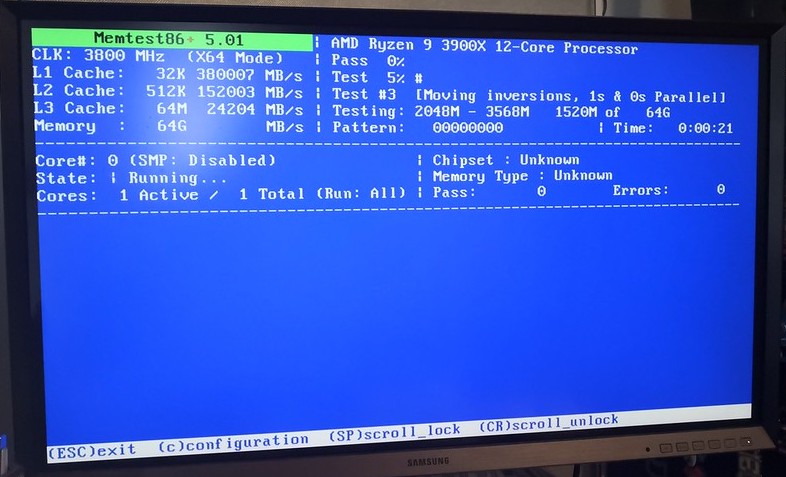
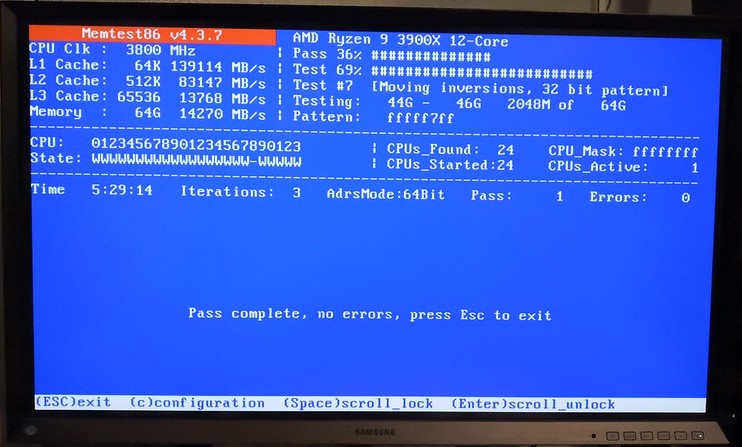
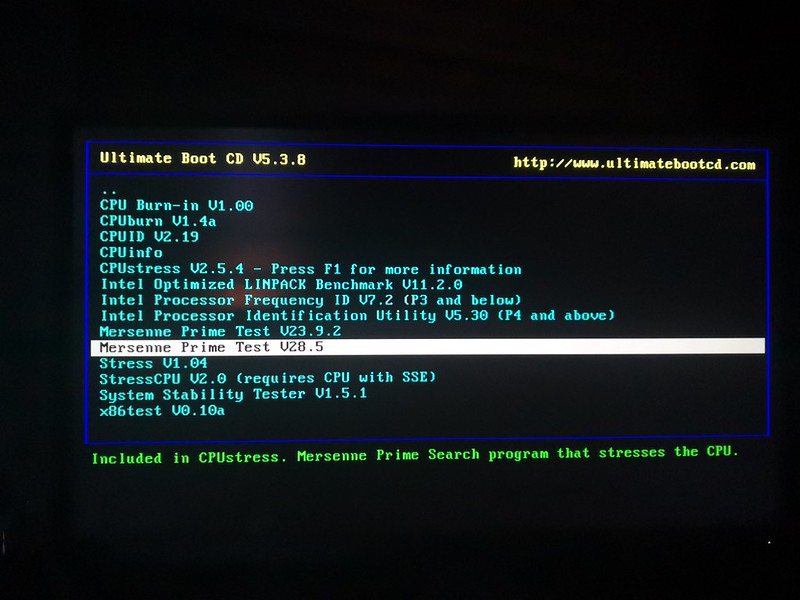
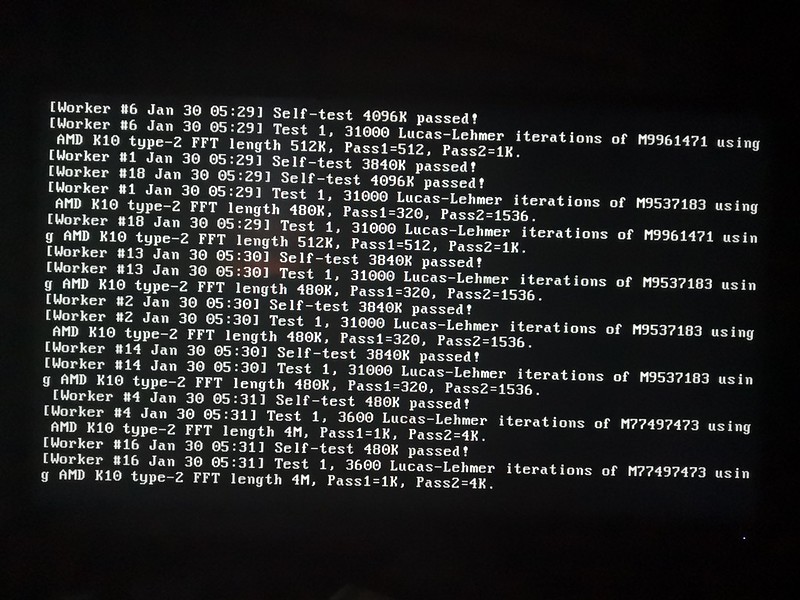
MSI makes it very easy, you can even do it with no CPU installed. This is accomplished using a Flash BIOS button along with a USB thumb drive containing the latest BIOS. I prefer visual feedback, so I used the M-Flash utility from within the BIOS setup.When you execute M-Flash, the system reboots and enters the utility. You just need to have a USB thumb drive with a copy of the BIOS installed. From there updating is easy.Now for the testing! Ultimate Boot CD is a handy tool to have around. It can also be imaged to a bootable thumb drive. Since I had a bunch of blank DVD-Rs and an external drive laying around, I decided to take the old school (lazy) route of burning it to DVD. You just need to set your BIOS to boot from USB, and you should get the menu pictured above. Ultimate Boot CD, has a bunch of useful utilities, beyond system stress testing. I recommend you have a copy handy. I use it for securely wiping hard drives quite a bit.The Ultimate Boot CD has a few memory testers. One is a fork of the other, but I ran them both for a few hours, because why not? Everything passed. My memory is looking good!Finally we have the CPU tests. One of the tests I chose to run overnight is the Mersenne Prime test. It stresses out your CPU by searching for large prime numbers. For more information on this test, go to https://www.mersenne.org/. You can actually join the public effort here to search for Mersenne prime numbers through their GIMPS program.
All of my basic tests passed, so I am comfortable now proceeding with this build. This is great news, because returning bad components and tracking down the root cause of issues can be one P.I.T.A.!
Thanks for visiting! If you made it this far, you’re a computer geek in my book! In the next post, we will choose and install our storage solution for the base operating system.