Welcome back to my series about the ancient art of building a PC. In this edition, we will be talking about the brains of any PC, the Central Processing Unit, or CPU. In case you missed my previous posts on the subject (1-5), please do check them out.
The CPU is one of the most (if not the most) critical component of your PC. It determines how fast your computer can process transactions. Modern CPUs can contain multiple virtual CPUs called cores. As we discovered the limits of Moore’s Law for single core CPUs, we found that we could run multiple virtual CPUs in tandem on a single physical CPU. This is referred to as a multicore processor. On higher end workstations and servers, these multicore physical processors can also be run in tandem to create multiprocessor/multicore servers. A server system with 4 CPUs with 12 cores each, would have 48 virtual CPUs available, which could be allocated to 48 completely different tasks. In the case of virtualized operating systems, each task could be a distinct operating system.
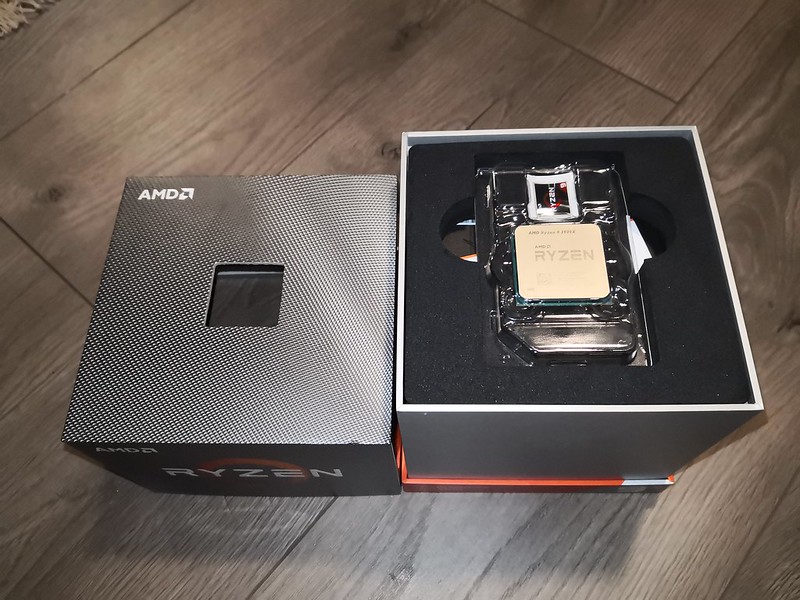
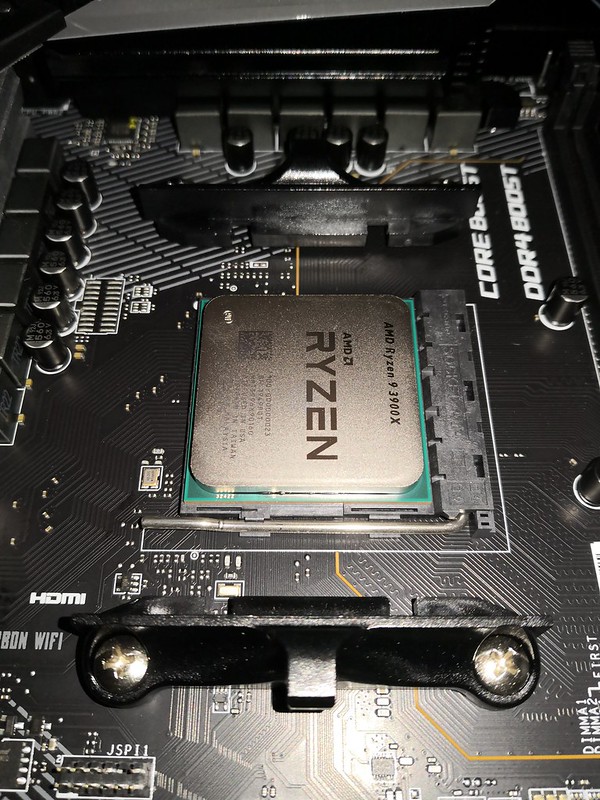
For this build I chose an AMD Ryzen 9 3900X processor. It comes in a rather large retail box which includes a CPU cooler. This processor has a total of 12 CPU cores, 24 threads, and has a base clock of 3.8GHz. It’s not the top of the line AMD CPU, which has 16 cores and costs about 50% more. This one is more bang for my buck. A little more on CPU tech: You can think of a thread as a task the CPU performs. Being multi-threaded, this CPU is better at organizing tasks than a single threaded CPU would be. As far as speed is concerned, the theoretical limit for CPU speed is about 10GHz. Even at half that speed, a CPU will generate a tremendous amount of heat and will require liquid cooling. In 2014, an experiment was conducted that allowed a liquid nitrogen cooled CPU to run at 8.7GHz[src]. Using current technology, it is no longer efficient to make CPUs faster, so instead we combine multiple CPUs together to increase performance.Upon removing the lid of the box, we find the CPU itself is easily accessible, and comes in its own plastic case.
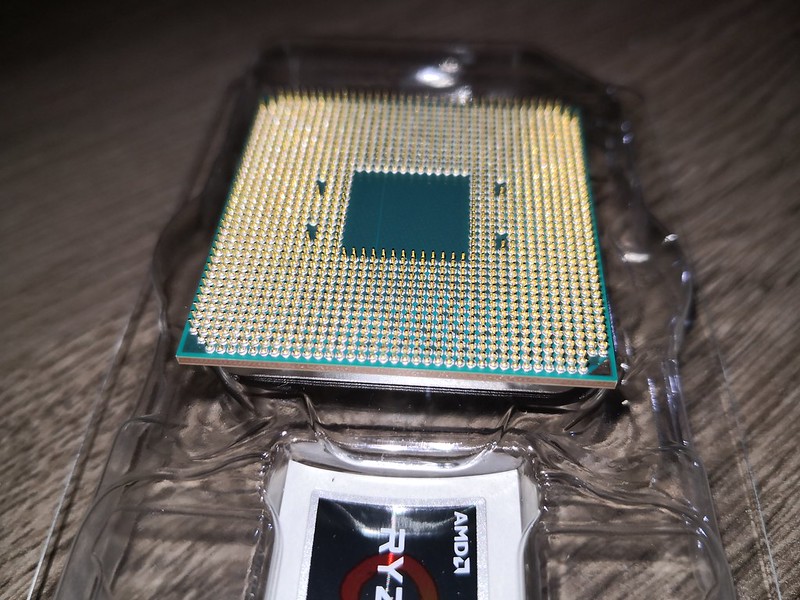
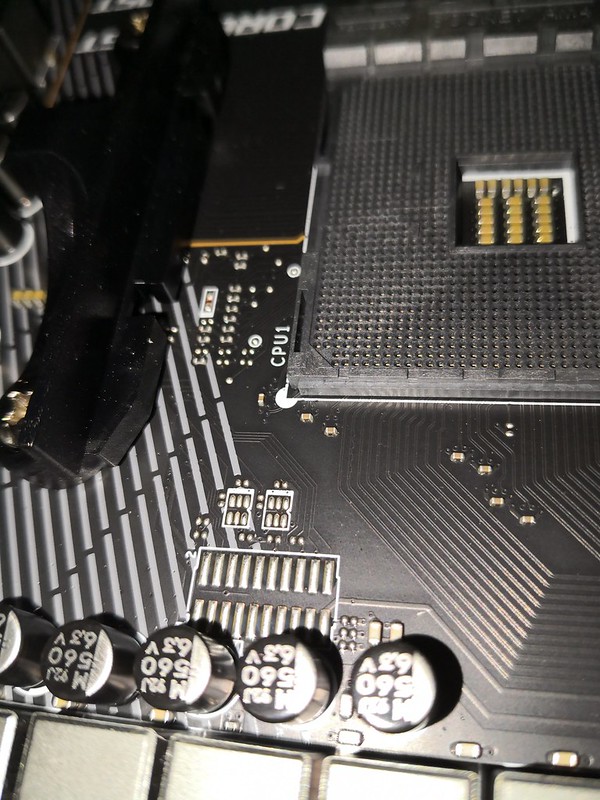
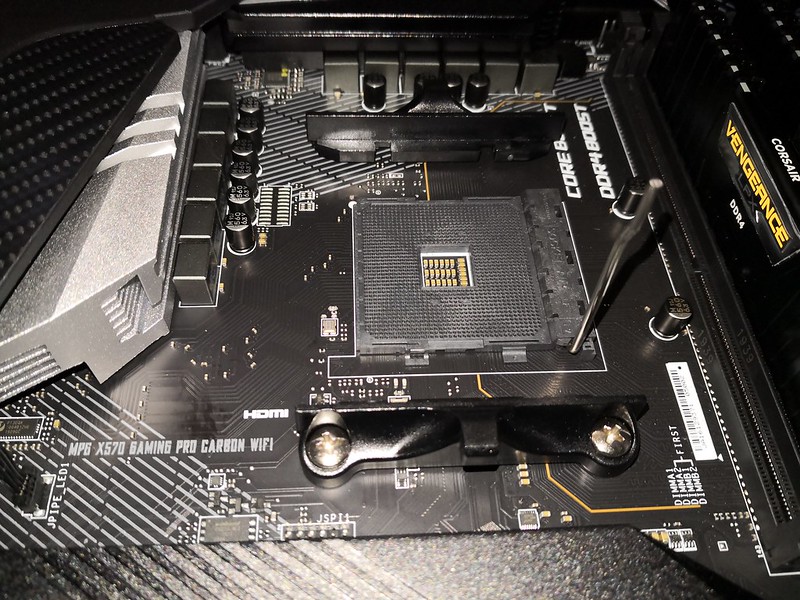
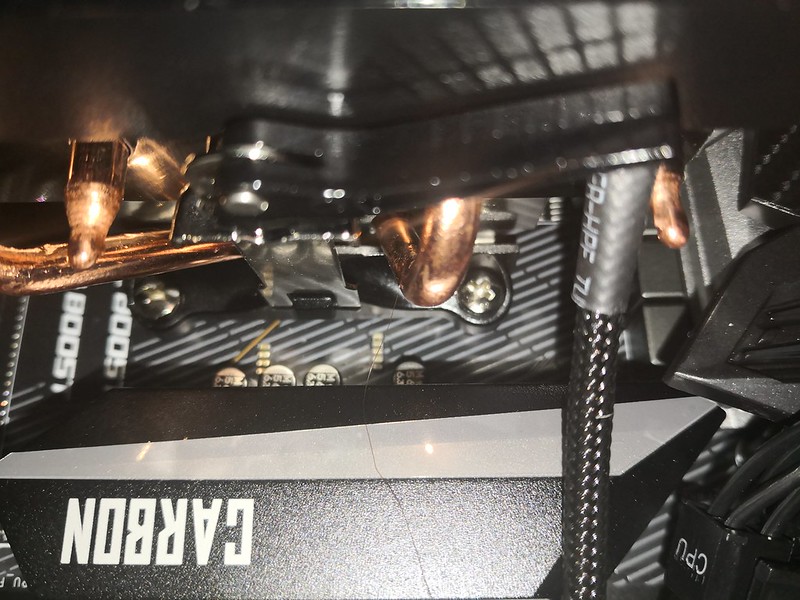
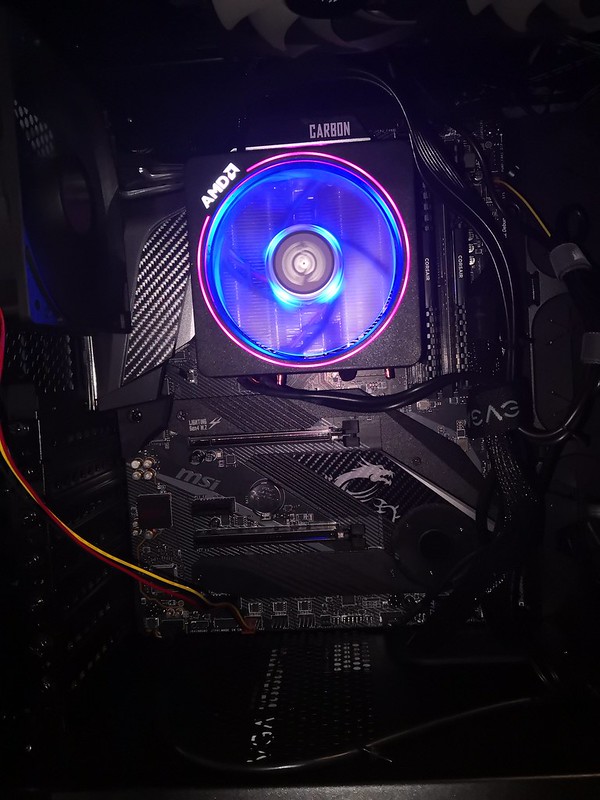
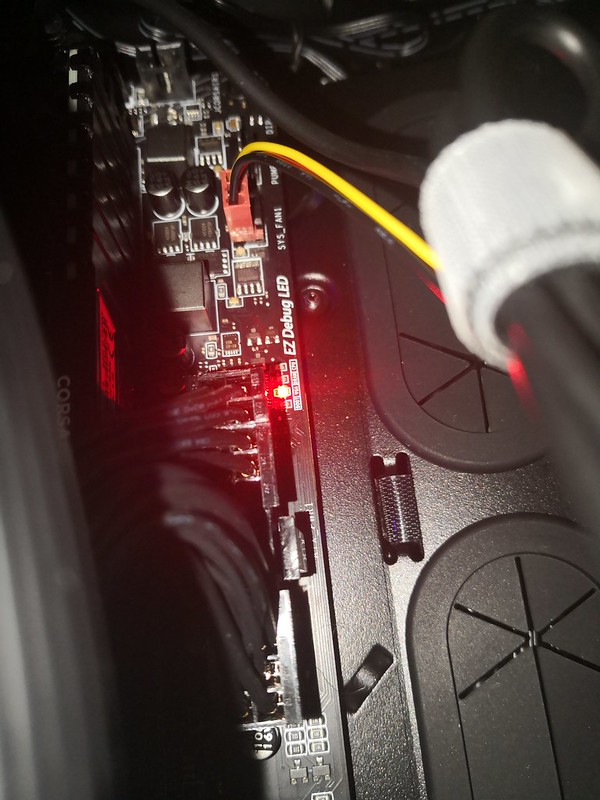
In the past I’ve always been an Intel CPU buff. This is partly because on of my early jobs was testing motherboards for Intel. Part of that job was pushing the motherboard/CPU to its limits, by playing CPU intensive games.Underneath the CPU is a black box containing the cooling unit. It consists of a large heat sink with a large fan attached to the top. This is considered a premium fan, because it has colorful LED disco lighting. I’m hoping I’ll be able to disable it via those included cables!When we flip the CPU over, we can see the individual CPU pins. This is how I remember Intel CPUs, until they switched over to a socket type utilizing contacts instead of pins. This pins will need to be lined up in a precise position inside the CPU socket on the motherboard. If you look closely, you can see a gold foil corner on the right side. This is the reference point used to line up the CPU for insertion.Now if you look at the CPU socket itself, you can see a white bubble on one corner. The gold corner on the CPU board must alight with this white bubble. If you attempt to orient the CPU in any other way, you risk bending pins on your CPU, or even worse.Here’s a full view of the CPU socket. Once the CPU is installed, you simply pull down and lock the lever arm.Our new CPU installed and waiting for the cooler. The cooler is installed on to the two metal brackets on either side of the CPU. On the back of the motherboard, there is an additional metal plate for reinforcement. There are only two attachment points for the CPU cooler. They just clip in, and you pull a single lever arm to lock it down.The CPU fully installed. There are a total of 3 connections going from the CPU cooler to the motherboard. One powers the fan, one is for USB, and one plugs into the RGB header on the motherboard. We are now ready for the smoke test!The motherboard powers up, and you can see the CPU fan spinning… But wait, what is this?There’s a Debug LED activated on the motherboard indicating a VGA problem! That’s something we’ll need to troubleshoot. Hopefully it’s an easy fix, and we don’t need to return the motherboard or something like that. For now mission accomplished!By the way, even with the smoked glass door, the LED fan can be very bright. I hope I can disable this!