
Welcome back to my series about the ancient art of building a PC. In this post, we’ll install some peripherals, operating system, basic software, and drivers. In case you missed my previous posts on the subject (1-8), please do check them out.
This blog turned out a little bit longer than my previous posts. I didn’t anticipate having so much to say about a battery.

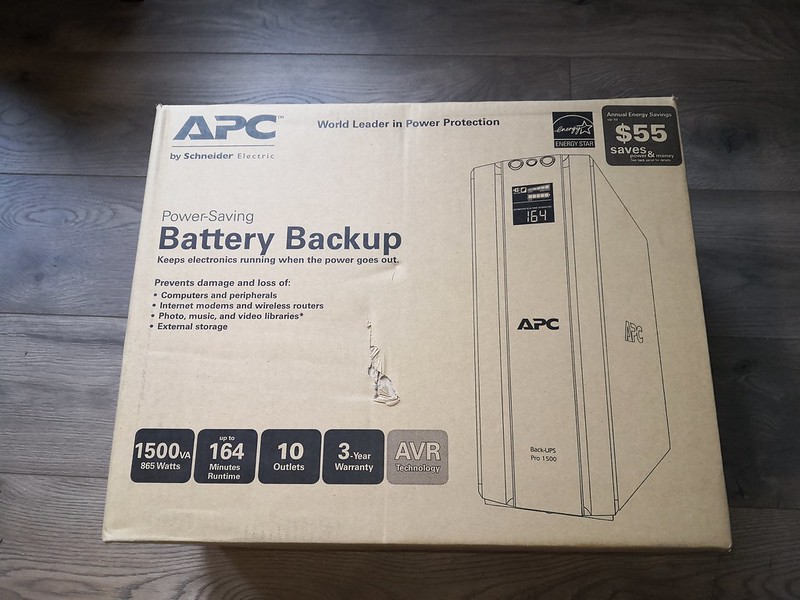
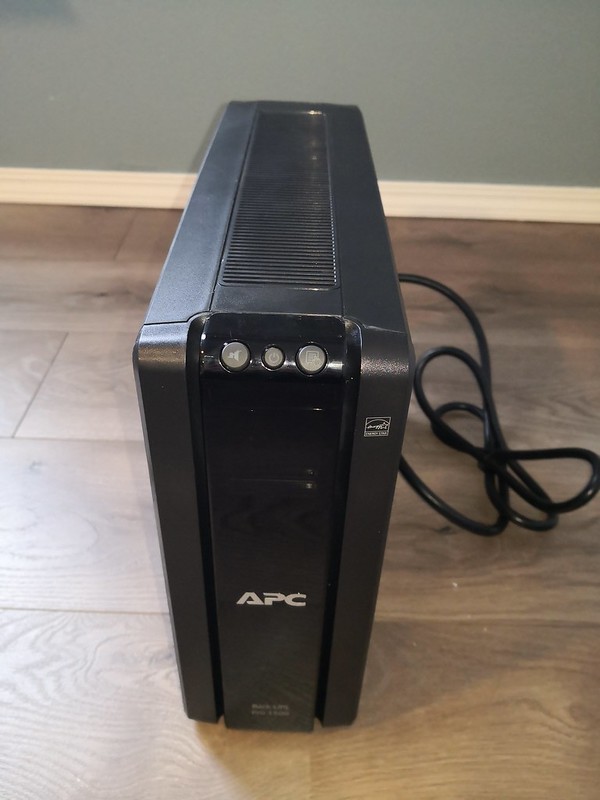
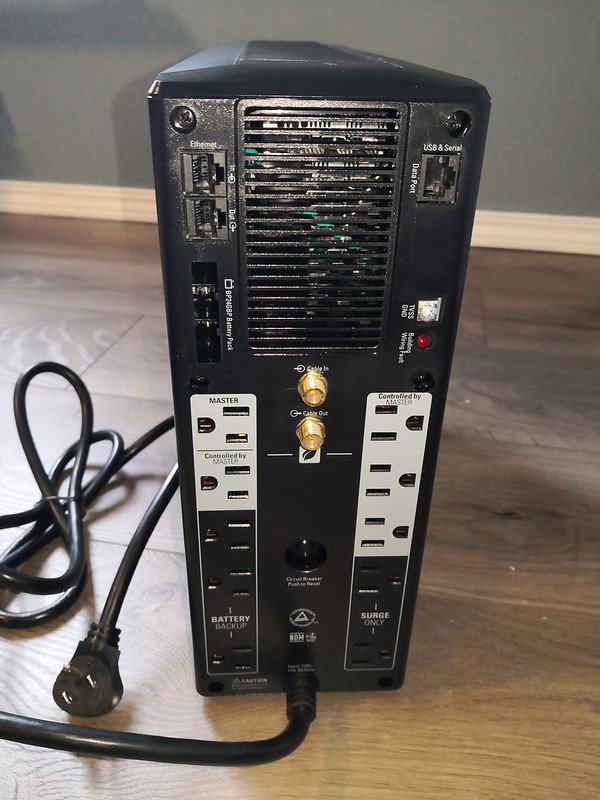
As a general rule, if you want to maximize the life of your workstation, you should install a UPS. They regulate power to your power supply, and are the first line of protection against power surges and sags.
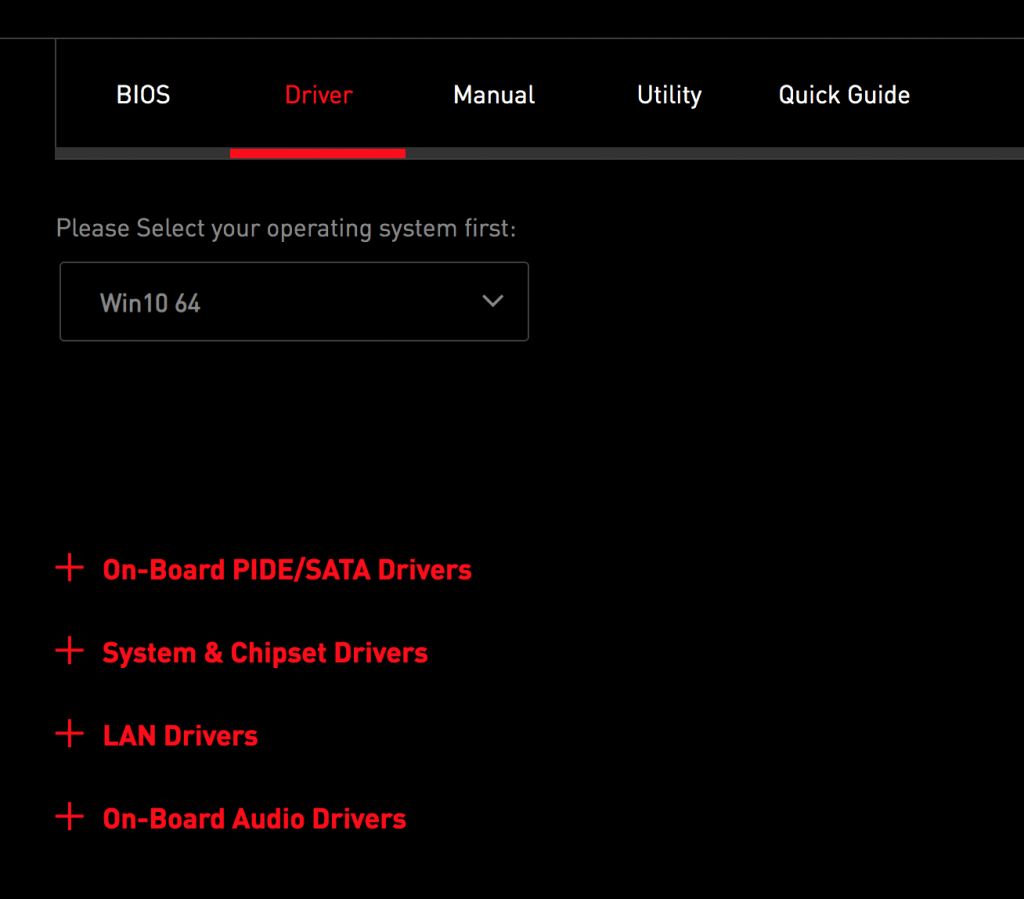
First off, you should download chipset and onboard device drivers. If you can, download them onto a newly formatted USB drive, and install them before you connect your system to the Internet. Your individual motherboard manufacturer will have a different set of drivers depending on the hardware built into the motherboard. As a general rule, you should download and install everything, unless you are specifically disabling hardware in BIOS. For example, some people choose to use a high end sound or network card, and disable the onboard device. In this case you would not need to install the driver included with the motherboard. Even if your device is recognized by windows, you should still install the latest release version of the manufacturer’s driver.
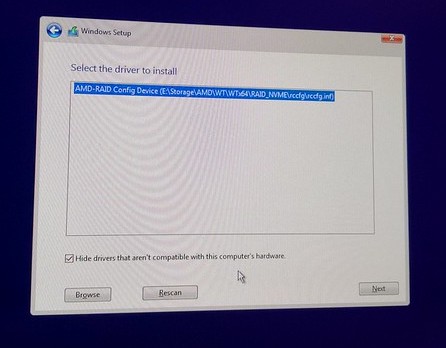
One aspect of the install directly related to my build is the RAID driver. Without the RAID driver you previously downloaded, your drives will not be recognized correctly by the operating system.
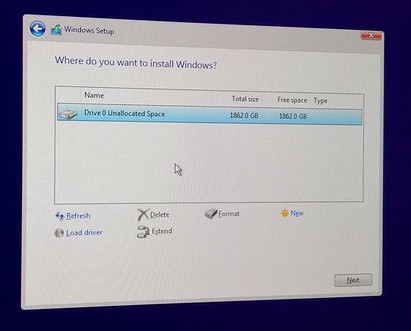
After this point, Windows has been installed completely, and all relevant device drivers have also been installed. The system now successfully boots into Windows!


There are a few other bits of software that I want to install right away, these include:
Install a privacy browser
To keep it simple, I will need a web browser to install the most important computer software, such as the anti-virus. I prefer Brave because I can use google chrome plug-ins, and crypto of course. I install other browsers as well, such as Mozilla Firefox, but I almost never use Internet Explorer/Edge unless I’m testing a website. Once you install the browser, go straight to the download page for your favorite anti-virus.
Install antivirus / anti-malware
For my anti-virus install / anti-mallware install, I chose Sophos. Unlike some of the other anti-virus software targeted to the home user, Sophos anti-virus is based upon their enterprise endpoint solution, though the trade-off is it’s cloud-based. It also runs in memory and can detect viruses/malware in real time. There are quite a few good antivirus solutions out there, just be sure to pick one, and keep it updated.
As a back-up, I chose Malwarebytes, which is a highly popular anti-malware product. For the free version, you can perform scans on demand. As a rule, you want to avoid running multiple anti-virus programs that scan your PC in real time, because they can interfere with one another.
Install a VPN
It’s a good idea to use a VPN, even on your home network for a couple of reasons.
- Your Internet service provider is probably collecting data on you and selling it.
- Your Internet service provider may be doing a poor job securing your data (particularly on shared services like Cable, apartment buildings, etc.).
When using a VPN provider, you are sending all of your Internet traffic to one of their devices, so there are privacy concerns with them as well. It is essential that you choose a reputable VPN provider. I chose NordVPN, because they have a strict policy against logging user traffic, operate out of a privacy friendly jurisdiction, and have a huge selection of servers to connect to.
Note: Don’t get lulled into a false sense of security. It is important to remember that no VPN service is foolproof, and they are frequently the target of attacks by hackers and state actors. If you are in a nation that is particularly hostile to internet freedoms, consider layering your privacy solutions. For example, you can connect to one VPN provider via your base operating system, then connect to another VPN provider through another operating system via VMWare or VirtualBox. Some home routers allow you to establish VPNs from them as well. This is called double-wrapping. In addition, you could also utilize an anonymous web proxy for any web browsing, or incorporate the TOR network or browser.
Clean Up The Crap
Another thing I like to do is clean a lot of the install artifacts and bloat left over from the OS, application, and driver installs. CCleaner is an example of a utility that is able to eliminate unused files. Upon getting to this point, I was able to recover 1.3 gigabytes of drive space, which is not too shabby.
So at this point I have a fully operational workstation with some basic security software, with the ability to browse the web. I still need to choose a solution for video (video cards and monitors), as my current video card is borrowed from a hashing rig, and my current monitor is low resolution for it’s size, and has a horrendous refresh rate. Thanks for reading!